
I wanted to try my hand at growing oyster mushrooms. They are tasty and supposedly easy to grow. It cant be that hard, right?
This blog post isn’t meant to be a comprehensive guide on how to do this, you can find better instructions on YouTube. If we try this again I’ll make a point to take better pictures of the process. If we have more success I’ll be better prepared to share it.
Here’s what we did. We took two grain bags and inoculated them with a blue-oyster liquid culture. After a few weeks of growth we did a “break and shake”, and let it finish colonizing.
Next we got some low-nutrient substrate. In our case we used aspen animal bedding. We put the bedding in a bucket and poured boiling water over it to help kill off the bad stuff. After letting it sit we drained the water off.
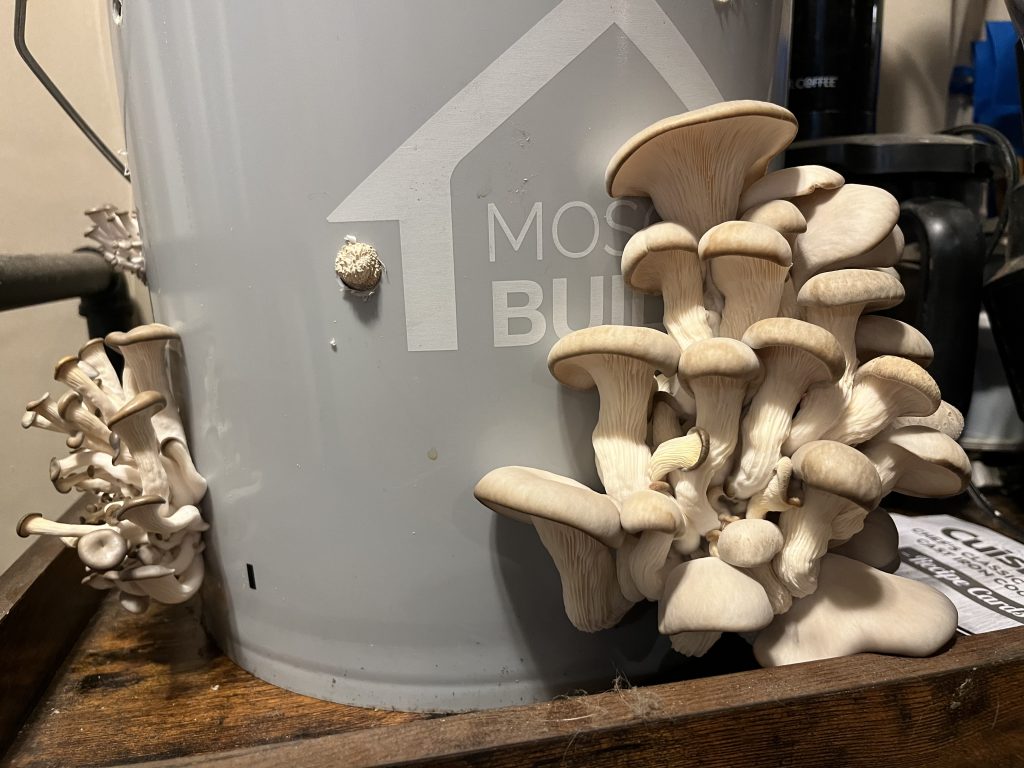
The last step was to break up and mix the grain spawn with the wood shavings. We did this in a bucket with half inch holes drilled all over to allow for fruiting. We stuck the bucket on a shelf for a few weeks, then it started pinning!
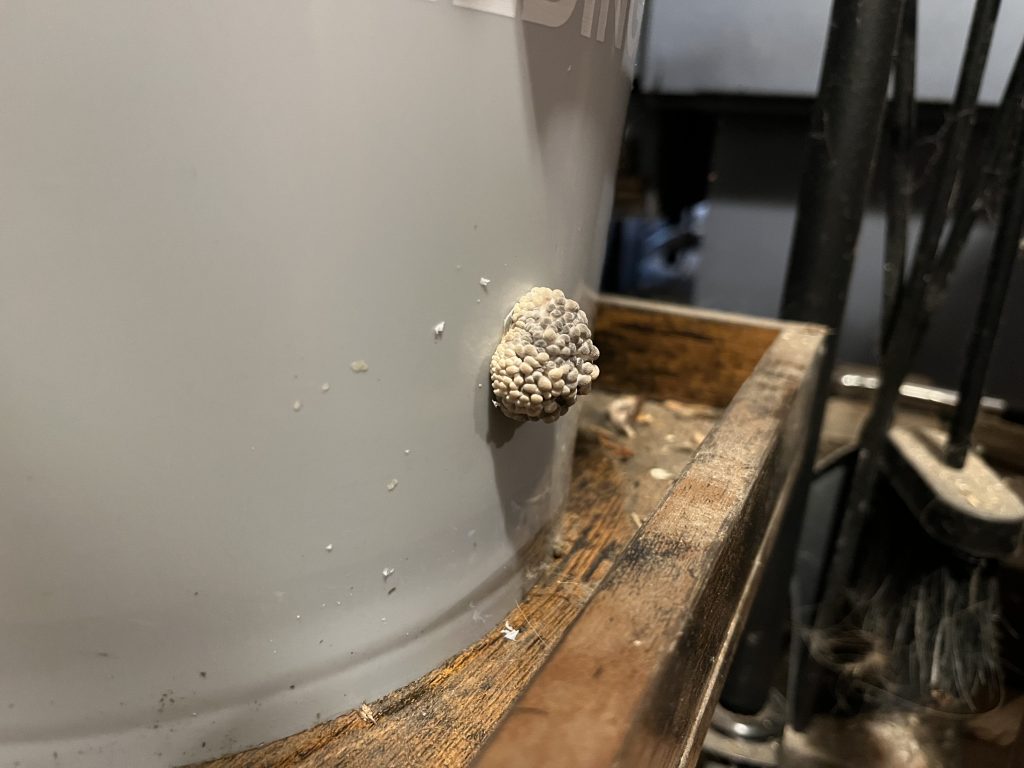
We got one good flush off of it. The rest of the pins aborted and dried out. We think that we made a poor choice of substrate, we think it was far too dry for proper growth of the fruiting bodies. When I disposed of the mycelium in the garden, the bedding was rather dense and dry. Anyways, here you can see the one healthy flush compared to some drying-out counterpart pin sets.
Next time we will try using a different substrate, maybe coco coir to help retain moisture better. We will also try again at a better time of year, when we can let the colonizing buckets sit outside. I am sure that these guys were not too thrilled with fruiting in the dead of winter next to a hot dry fireplace.
Most importantly we learned that all it takes is 3 short months and about $60 in supplies to save you $8 at the grocery store.
Leave a Reply
You must be logged in to post a comment.