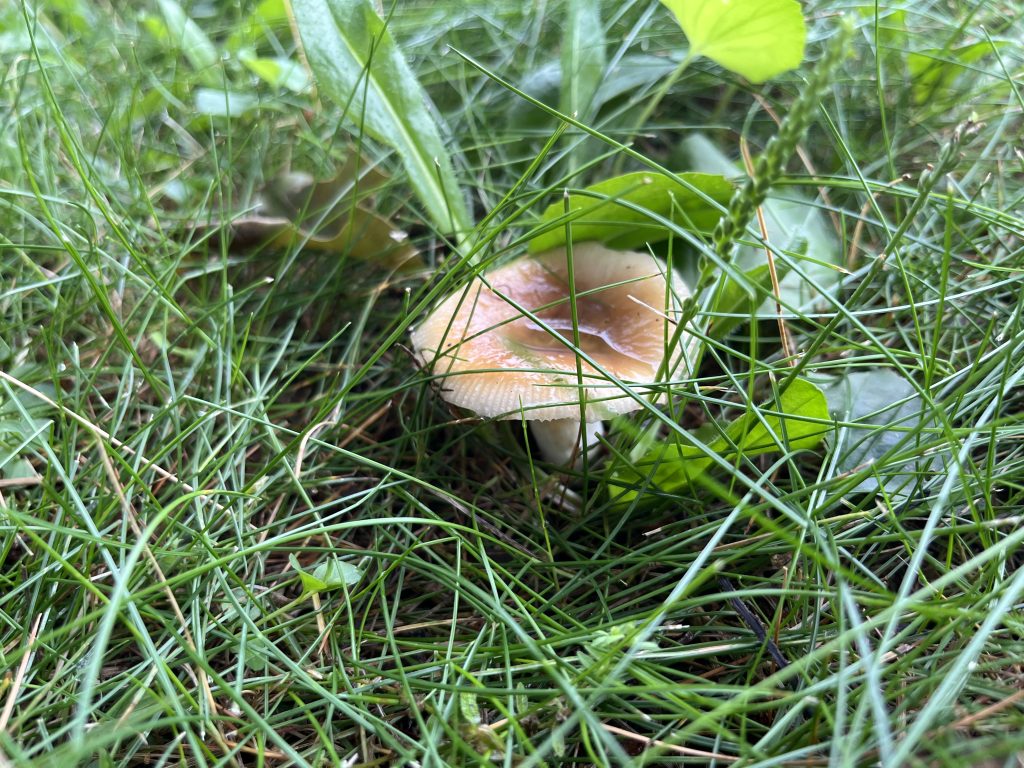
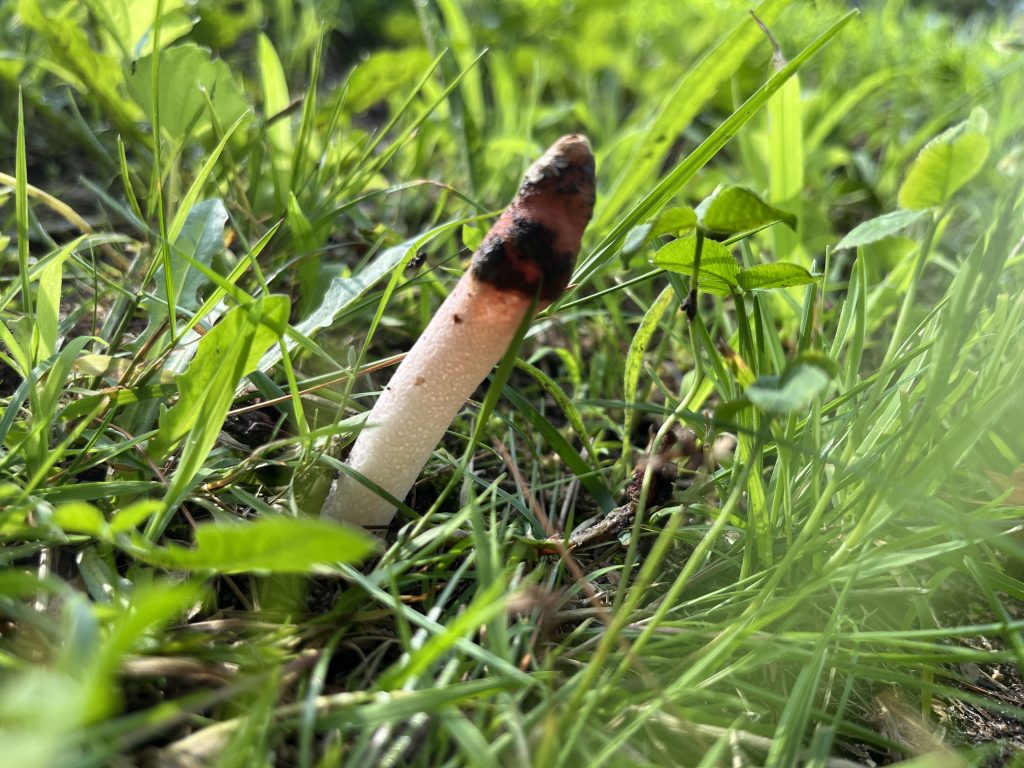
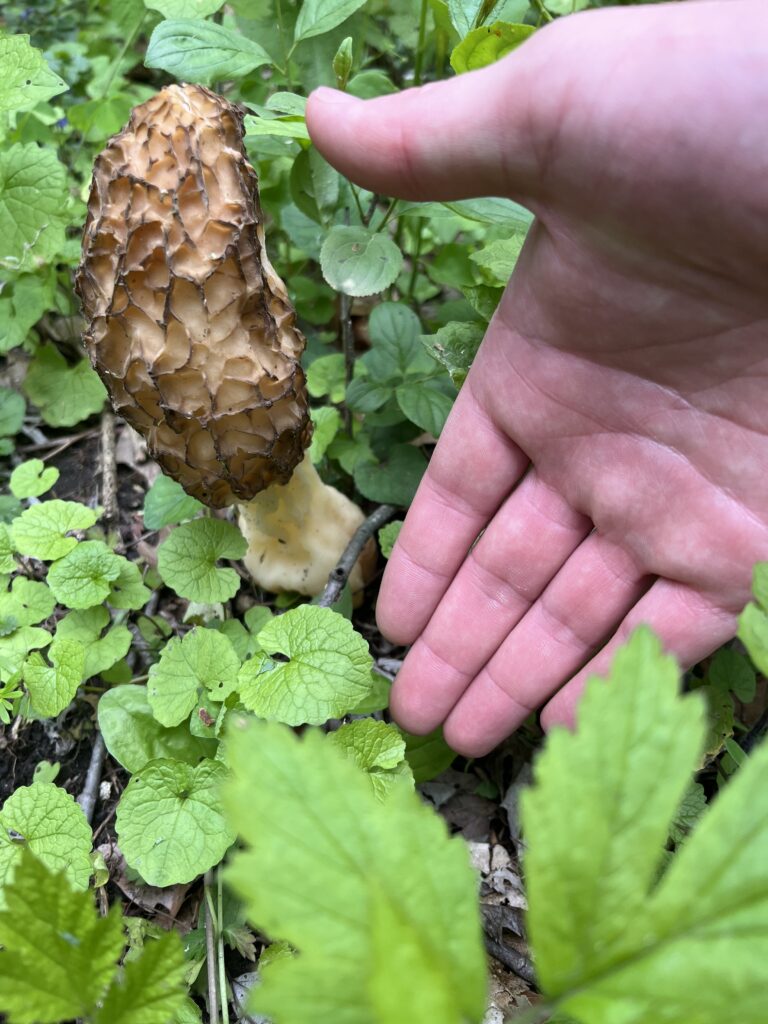
This blog post is dedicated to the mushrooms I am finding in my back yard. I don’t know what kinds of mushrooms these are. Photogenic ones I suppose.
I’ll update this page periodically if I find additional good ones.
This blog post is dedicated to the mushrooms I am finding in my back yard. I don’t know what kinds of mushrooms these are. Photogenic ones I suppose.
I’ll update this page periodically if I find additional good ones.

I have been fascinated with fractals ever since I was little. My first experience with them was at the Renaissance Fair where a vendor was selling prints of his artist renditions of fractals.
I have been thinking that I kind of want one of those prints now, but since I am extra I wanted to do it myself. After all a little math isn’t that scary.
The first thing to understand is iteration. Imagine you have a sequence of numbers, where each number depends on the number that came before it, that’s the idea.
Lets imagine our function takes two inputs, n which describes the “nth” place and a constant c. Our function would return it’s previous state squared plus the constant.
f(n+1) = n^2 + cFor a c of 1 you would get: 0, 1, 2, 5, 26… a sequence that continues to infinity.
For a c of -1 you would get: 0, −1, 0, −1, 0… a sequence that does not continue to infinity.
I won’t pretend to know the math behind it, but we know that if a sequence ever reaches the absolute value of 2 then it will continue to infinity forever.
Lets use this criteria to define a new function. This new function will take a constant c and return the length of the sequence of numbers that stays below 2. Since this could repeat forever, lets define a maximum number of iterations.
There are many iterations (heh) of the code. But lets start with what we have covered so far:
// Define a sequence given a starting constant
function sequence($constant)
{
    $next = $constant;
    while (true) {
        yield $next;
        $next = $next**2 + $constant;
    }
}

// Count the iterations in a given sequence
function iterations()
{
    foreach (sequence() as $nth => $value) {
        if ($nth > MAX_ITERATIONS) {
            break;
        }
        if ($value >= 2) {
            return $nth;
        }
    }

    return 0;
}We are not working with your regular numbers here. We are working with complex numbers. A complex number is a number that has both a real and an imaginary component. For example, 1+2i is a complex number.
So let’s rewrite our function to take complex numbers instead. To accomplish this I am using the markbaker/complex-functions library.
function sequenceWithComplexNumbers($real, $imaginary) {
    $next = $test = new Complex\Complex($real, $imaginary);
    while (true) {
        yield $next;
        $next = $next->pow(2)->add($test);
    }
}

function countIterationsOfSequence($sequence) {
    foreach ($sequence as $nth => $value) {
        if ($nth >= MAX_ITERATIONS) {
            break;
        }
        if ($value->getReal() >= 2 || $value->getImaginary() >= 2) {
            return $nth;
        }
    }

    return 0;
}We are starting to work with enough code that encapsulating it into a class is starting to make sense. Let’s create a class that takes an input real and imaginary number, as well as a maximum number of iterations for the sequence. This class should represent both the sequence of numbers and the iteration count of the sequence. This isn’t the whole code but describes the interface:
interface Mandelbrot
{
    public function __construct(
        private float $real,
        private float $imaginary,
        private int $maxIterations,
    ) {}

    public function iterations(): int;

    public function sequence(): Generator;
}Since we are working with complex numbers we can fill in the complex number plane. We can say that the X axis is the real component, and the Y axis is the imaginary component. For each X and Y, we:
c constant.For point #4 there, that’s the only real challenging part. I am using 256 iterations, or counting up to 0xff in hex. We can convert the number to grayscale by converting the iteration count from decimal to hexadecimal, then concatenating itself three times. This gives us 0x000000 to 0xffffff to work with, which is the entire gray color spectrum.
There may be a follow-up blog post about adding color, but for now lets stick with gray. Oh, and I am using the intervention/image library for generating images.
$width = $input->getArgument('width');
$height = $input->getArgument('height');
$realStart = -2;
$realEnd = 1;
$imaginaryStart = -1;
$imaginaryEnd = 1;
$filename = $input->getArgument('filename');

$canvas = ImageManagerStatic::canvas($width, $height, '#ffffff');

foreach (range(0, $width) as $x) {
    foreach (range(0, $height) as $y) {
        $mandelbrot = new Mandelbrot(
            $realStart + ($x / $width) * ($realEnd - $realStart),
            $imaginaryStart + ($y / $height) * ($imaginaryEnd - $imaginaryStart),
            MAX_ITERATIONS,
        );
        $iterations = $mandelbrot->iterations();
        $color = $iterations > 0 ? dechex(MAX_ITERATIONS - $iterations) : "00";
        $colorCode = "#$color$color$color";
        $canvas->pixel($colorCode, $x, $y);
    }
}

$canvas->save($filename, 100, 'png');The code presented here is just one iteration that got me to the end result. The actual code uses the symfony/console component to handle inputs and outputs for generating a customizable image. This isn’t my finest work yet, I may publish the full code someday.
The featured image on this post is a 4k-resolution image of the set, generated by this code. It took an hour or two to generate. My real goal for the project was a print-quality poster version, which unfortunately is a little too large for distribution on a blog, but that took a few days to generate.
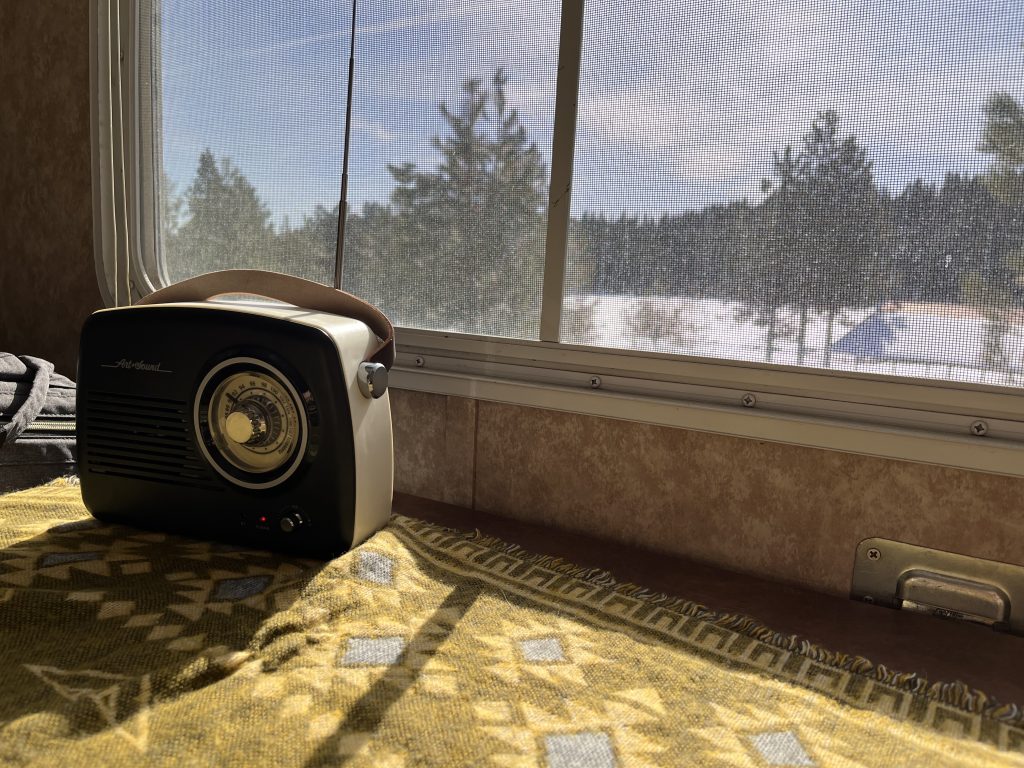
In our preparation for a grand adventure we took our camper trailer to Spring Valley for a weekend.
The night before we left we brought the trailer home to charge the batteries and load up. Then came the big day. We set out early to go de-winterize the water systems.
We partially filled our fresh water tank and flipped the water pump on to start flushing the lines and… nothing. The lights dimmed as if it was pulling power, but the pump didn’t activate. Bummer.
So, we drained the fresh water. We came prepared with bottled water for the weekend just in case, but it was really a bummer that we wouldn’t be able to test the water features of the trailer this time.
The next step was to head to the park. We were all loaded up and the weather was pleasant. We got to the park in good time with nothing unexpected coming up. Until we got to the park.
Spring comes a little later at Spring Valley, there was still snow on the ground. The camp host, in plowing the roads, had completely blocked off the RV sites with snow banks. Seeing that we were not competing with anyone else for space, we backed the trailer as close to the snow bank as we could and started the camp setup process. We honestly thought the camp host would tell us we had to move so we waited to fully commit, but we were out of the way and the camp host was away. It ended up being OK.
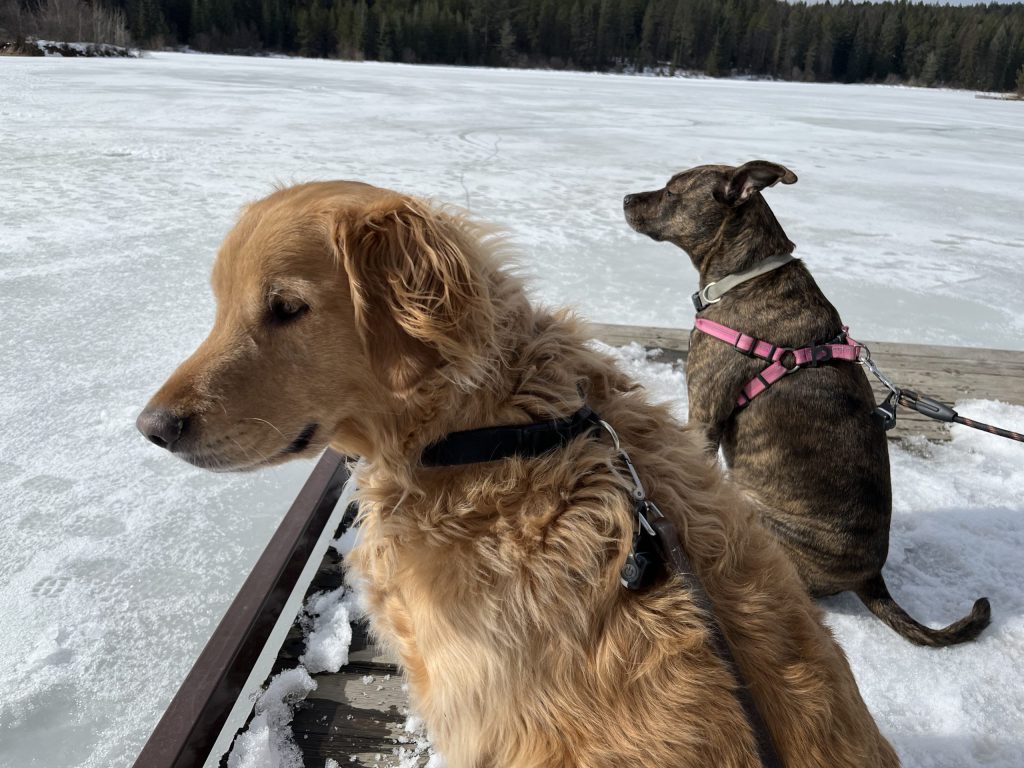
Having set up camp (and after a quick siesta) we decided to go on a hike with the pups.
We went around the north end of the lake, got some pictures, then turned around and went back. We didn’t know the state of the whole trail and figured we could do the entire hike another day.
Here’s where we encountered pitfall number two. We discovered that although we had packed all the food we could possibly want over the weekend, we had forgotten to pack any seasonings. We didn’t even have salt or pepper. That is, with one exception. My Dad had gifted us some fancy hot sauces for Christmas. So for dinner we had our steaks well seared and cooked with a lovely red pepper sauce and garlic. We packed our baked potatoes with some melted pepper jack cheese. Overall it was a good meal with great company.
The next day we had pancakes for breakfast before going back out to explore and get more pictures.
We decided to come home Sunday so we could pack up the trailer at home on Monday, before returning to work on Tuesday. Everything packed up as easy as it put down, the most difficult part as always is lining up the trailer hitch.
It was good to unplug for a weekend and stretch ourselves. Being uncomfortable is good for growth, and facing the unknown and all the challenges therein is definitely uncomfortable.
We already have a replacement water pump ordered and we are thinking there should be one more outing before our big trip. Stay tuned for more adventures.
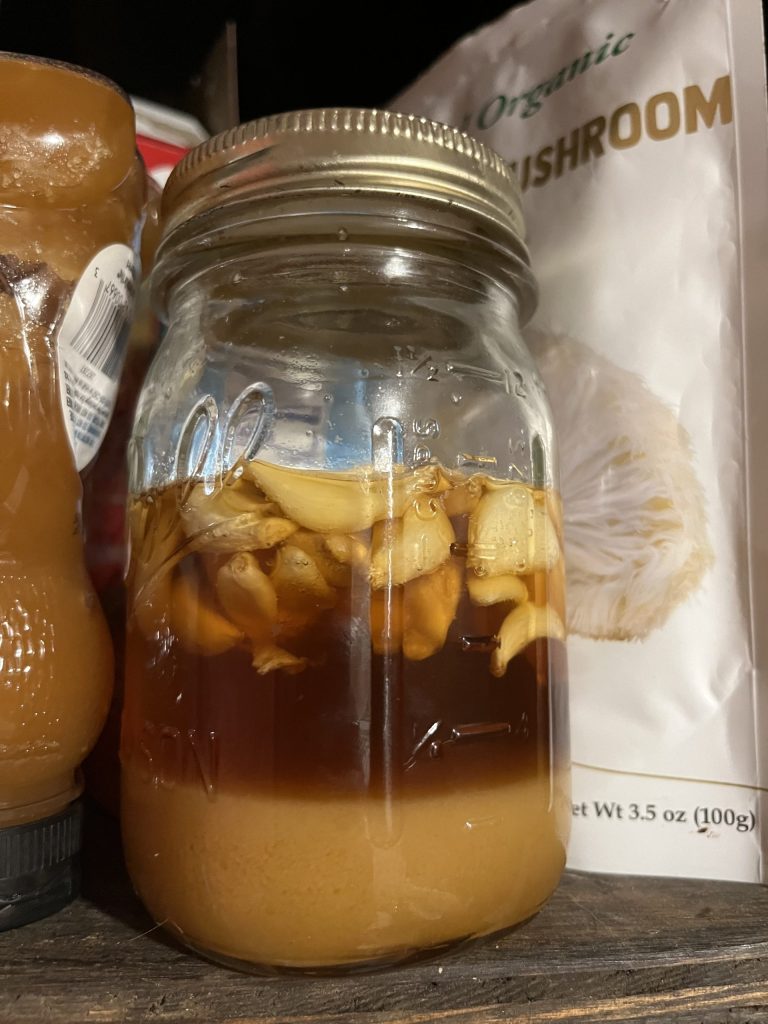
So my wife and I subscribe to a service called Every Plate. It’s a meal delivery service that sends you groceries for home-cooked meals every week. Its pretty great, but instead of sending just a few cloves of garlic where needed they send an entire head.
This isn’t a huge deal, we eat a lot of garlic, but we have had the service for months and we have had a slowly growing pile of unused garlic on the counter. Finally it reached a tipping point where I decided we either had to use the garlic or throw it away because some was starting to go bad.
So, honey fermented garlic. I stumbled on the idea online and thought it might be the perfect way to preserve some of our surplus. So how do you do it? I will explain!
First you peel your garlic. Pro garlic tip, if you slightly crush it with the flat side of a knife you can peel it easier. Anyways, peel garlic to your hearts content and stick it in a jar.
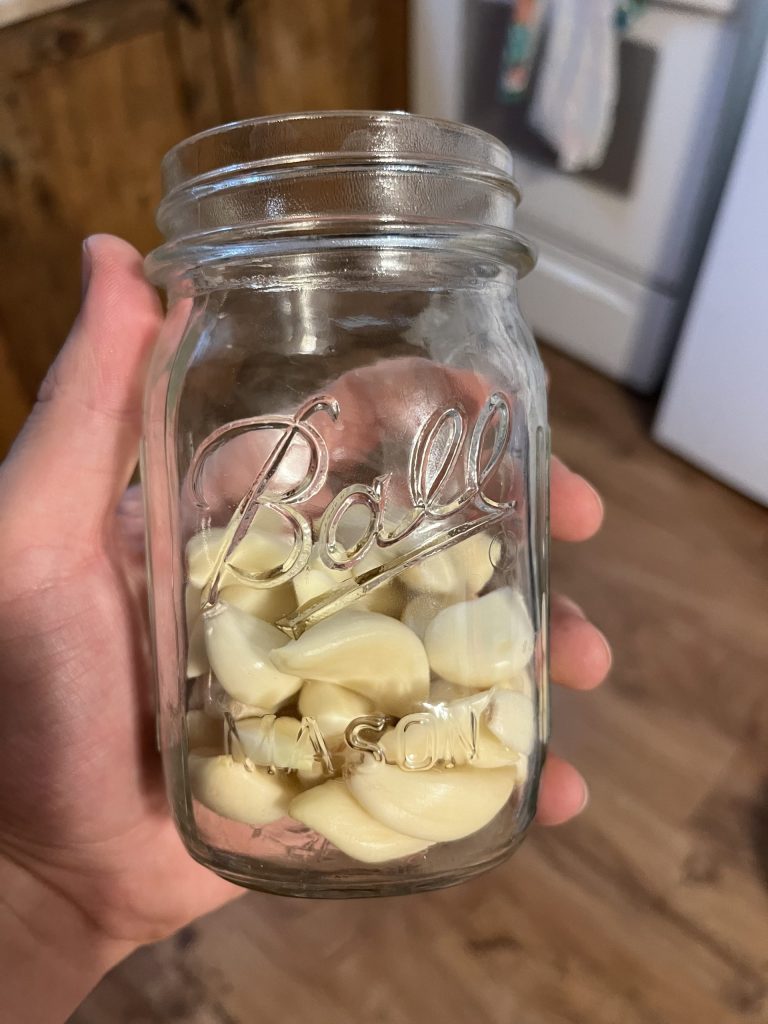
Next, pour raw honey over the top of the garlic and use enough that the garlic is completely covered. It will want to float and that’s OK, but you want enough honey to completely cover the garlic when submerged.
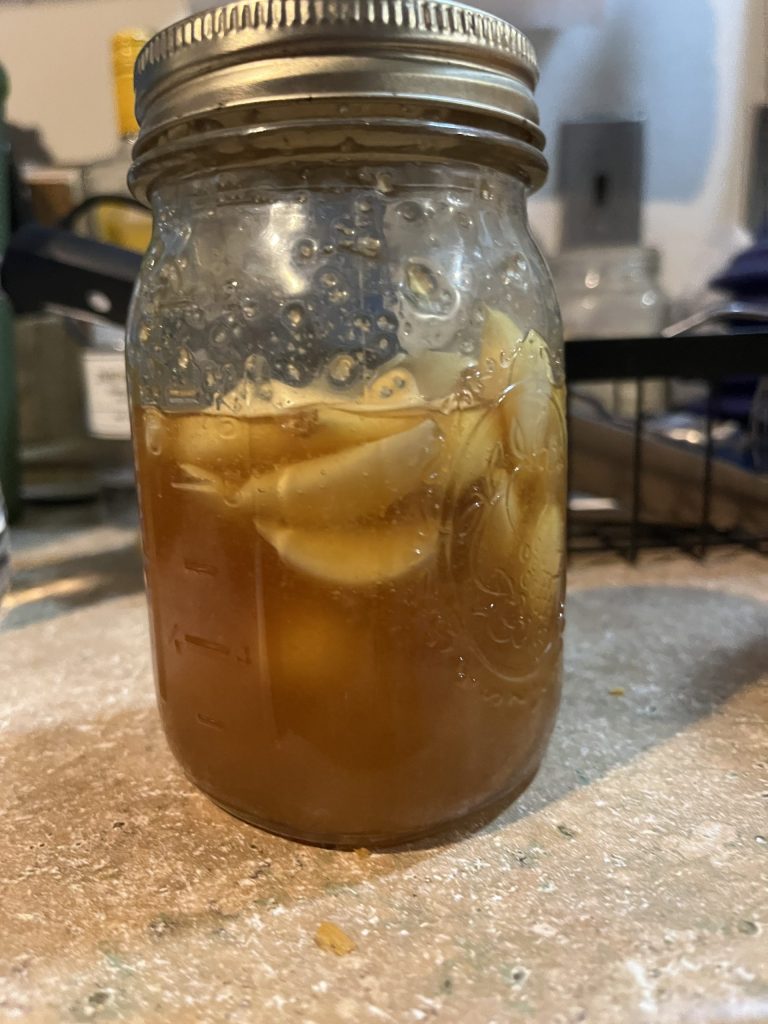
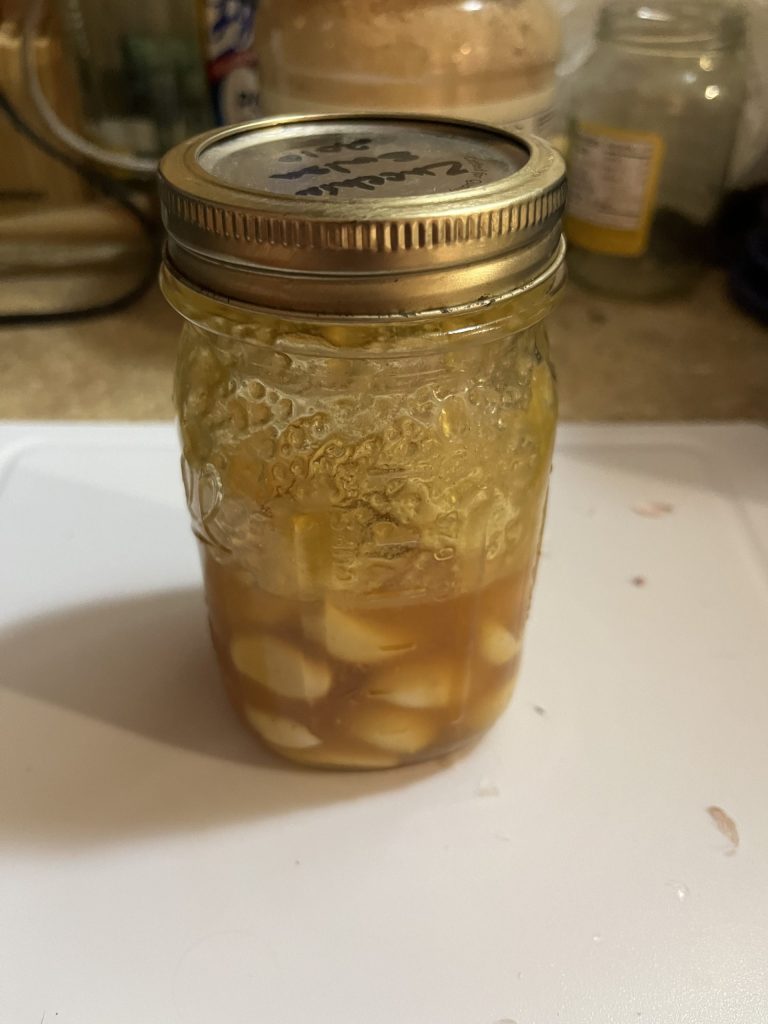
The last step is to put the jar in a cabinet with the lid loosely screwed on. As the garlic ferments it will put off gasses, and if the lid is too tight you will end up with a honey bomb. You might want to check on it every day or two and burp the jar just in case.
After about two weeks it will be ready. You now have fermented garlic and garlic-infused honey. Enjoy!
This post was abandoned in a pending state for a bit over a year. To be honest, since I was not successful I was a little disheartened from posting it. I changed my mind though, the post is worth publishing anyways, despite the failure. So here it is-
You might have read in the datacenter diary that a switch was failing, it had a bad fan. Clearly the device had to go, but I had hopes of refurbishing it. If anything, its a test-run of doing more of this.

Just out of curiosity I popped the lid open. The fans look like pretty standard 40mm fans. I can feel there is a ton of dust and gunk jamming one of the fans, so it’s definitely dead.

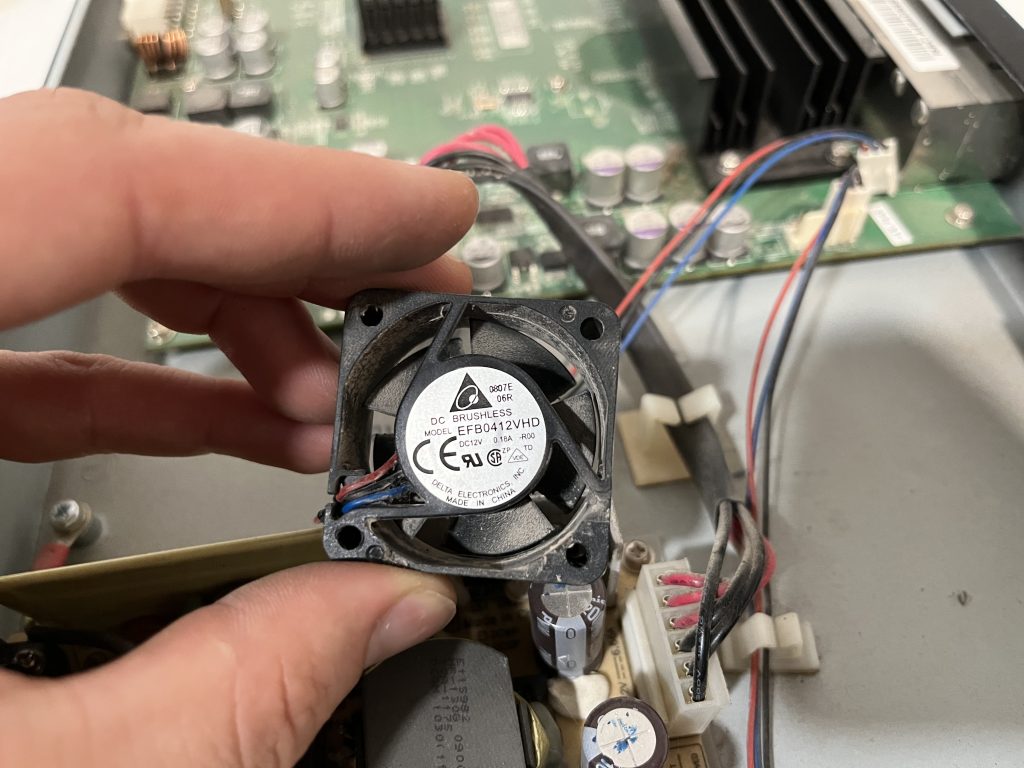
It looks like these are readily available on AliExpress and eBay, so for $12 I grabbed a pair. They ship from mainland China so it took a week or five but it eventually arrived.
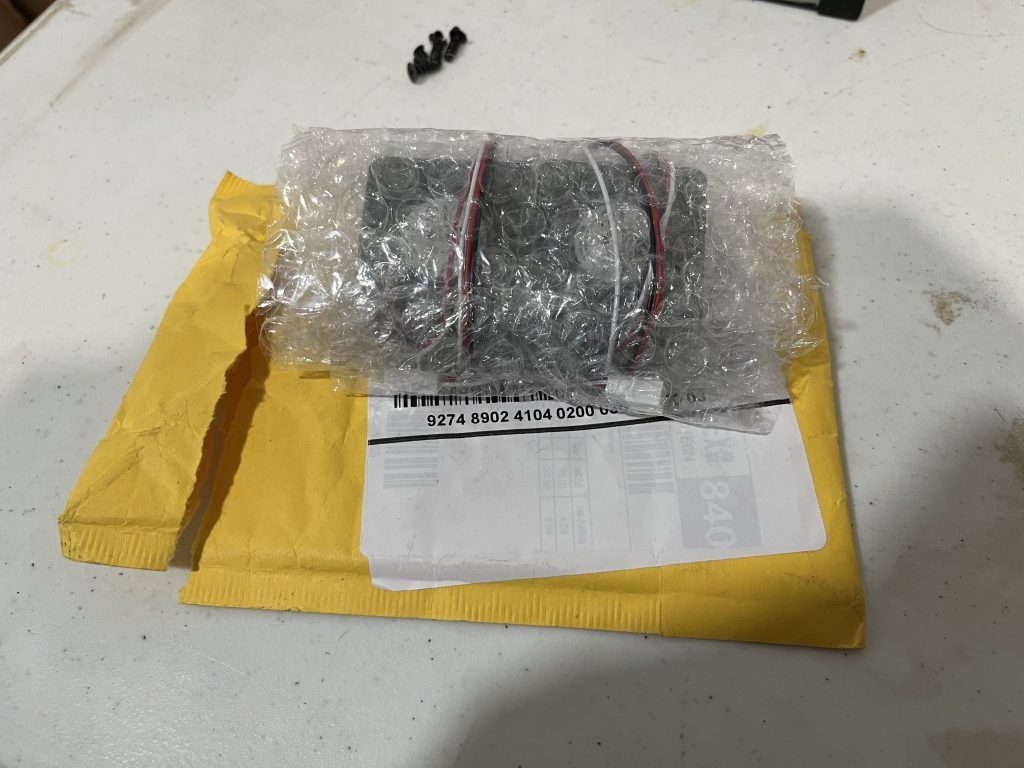
Unfortunately, after powering the device back on there was a snap and a pop and a wisp of blue smoke. No activity on the fans and the console port won’t light up.
It looks like this device is destined for the dumpster. They cant all be winners.

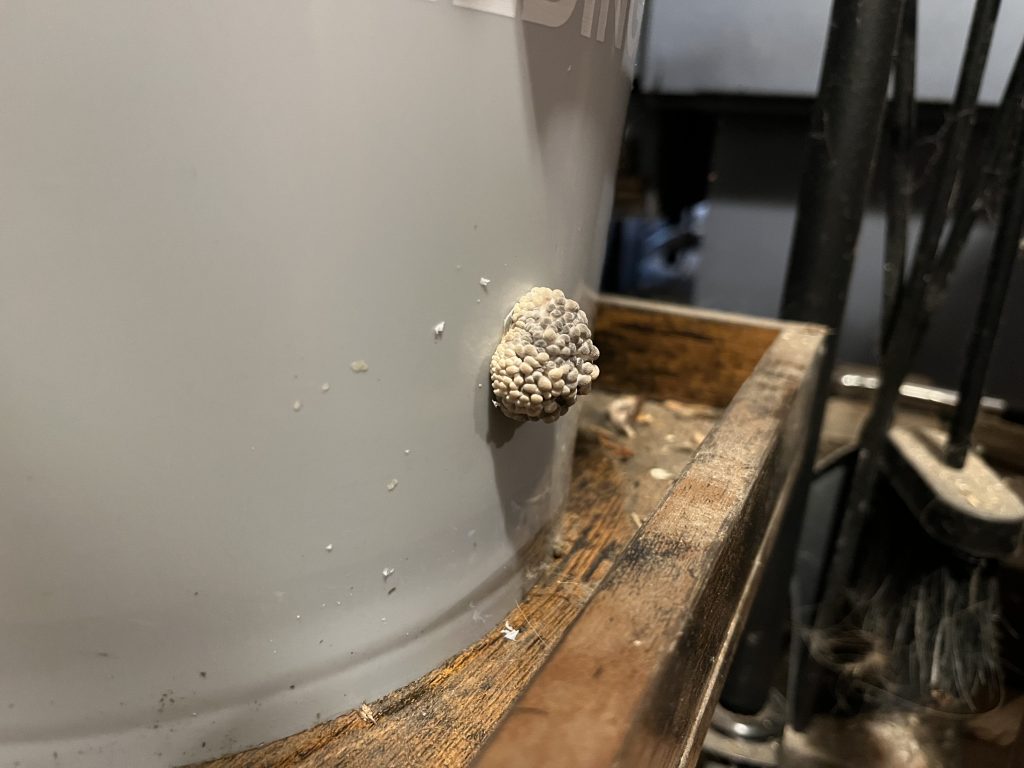
I wanted to try my hand at growing oyster mushrooms. They are tasty and supposedly easy to grow. It cant be that hard, right?
This blog post isn’t meant to be a comprehensive guide on how to do this, you can find better instructions on YouTube. If we try this again I’ll make a point to take better pictures of the process. If we have more success I’ll be better prepared to share it.
Here’s what we did. We took two grain bags and inoculated them with a blue-oyster liquid culture. After a few weeks of growth we did a “break and shake”, and let it finish colonizing.
Next we got some low-nutrient substrate. In our case we used aspen animal bedding. We put the bedding in a bucket and poured boiling water over it to help kill off the bad stuff. After letting it sit we drained the water off.
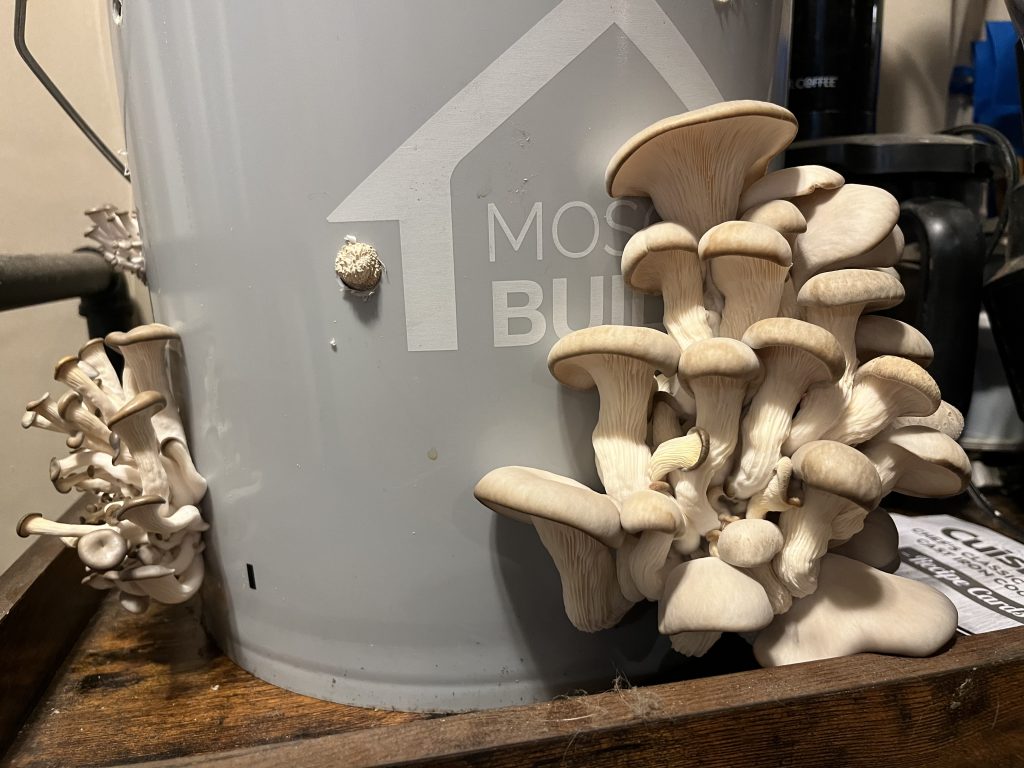
The last step was to break up and mix the grain spawn with the wood shavings. We did this in a bucket with half inch holes drilled all over to allow for fruiting. We stuck the bucket on a shelf for a few weeks, then it started pinning!
We got one good flush off of it. The rest of the pins aborted and dried out. We think that we made a poor choice of substrate, we think it was far too dry for proper growth of the fruiting bodies. When I disposed of the mycelium in the garden, the bedding was rather dense and dry. Anyways, here you can see the one healthy flush compared to some drying-out counterpart pin sets.
Next time we will try using a different substrate, maybe coco coir to help retain moisture better. We will also try again at a better time of year, when we can let the colonizing buckets sit outside. I am sure that these guys were not too thrilled with fruiting in the dead of winter next to a hot dry fireplace.
Most importantly we learned that all it takes is 3 short months and about $60 in supplies to save you $8 at the grocery store.
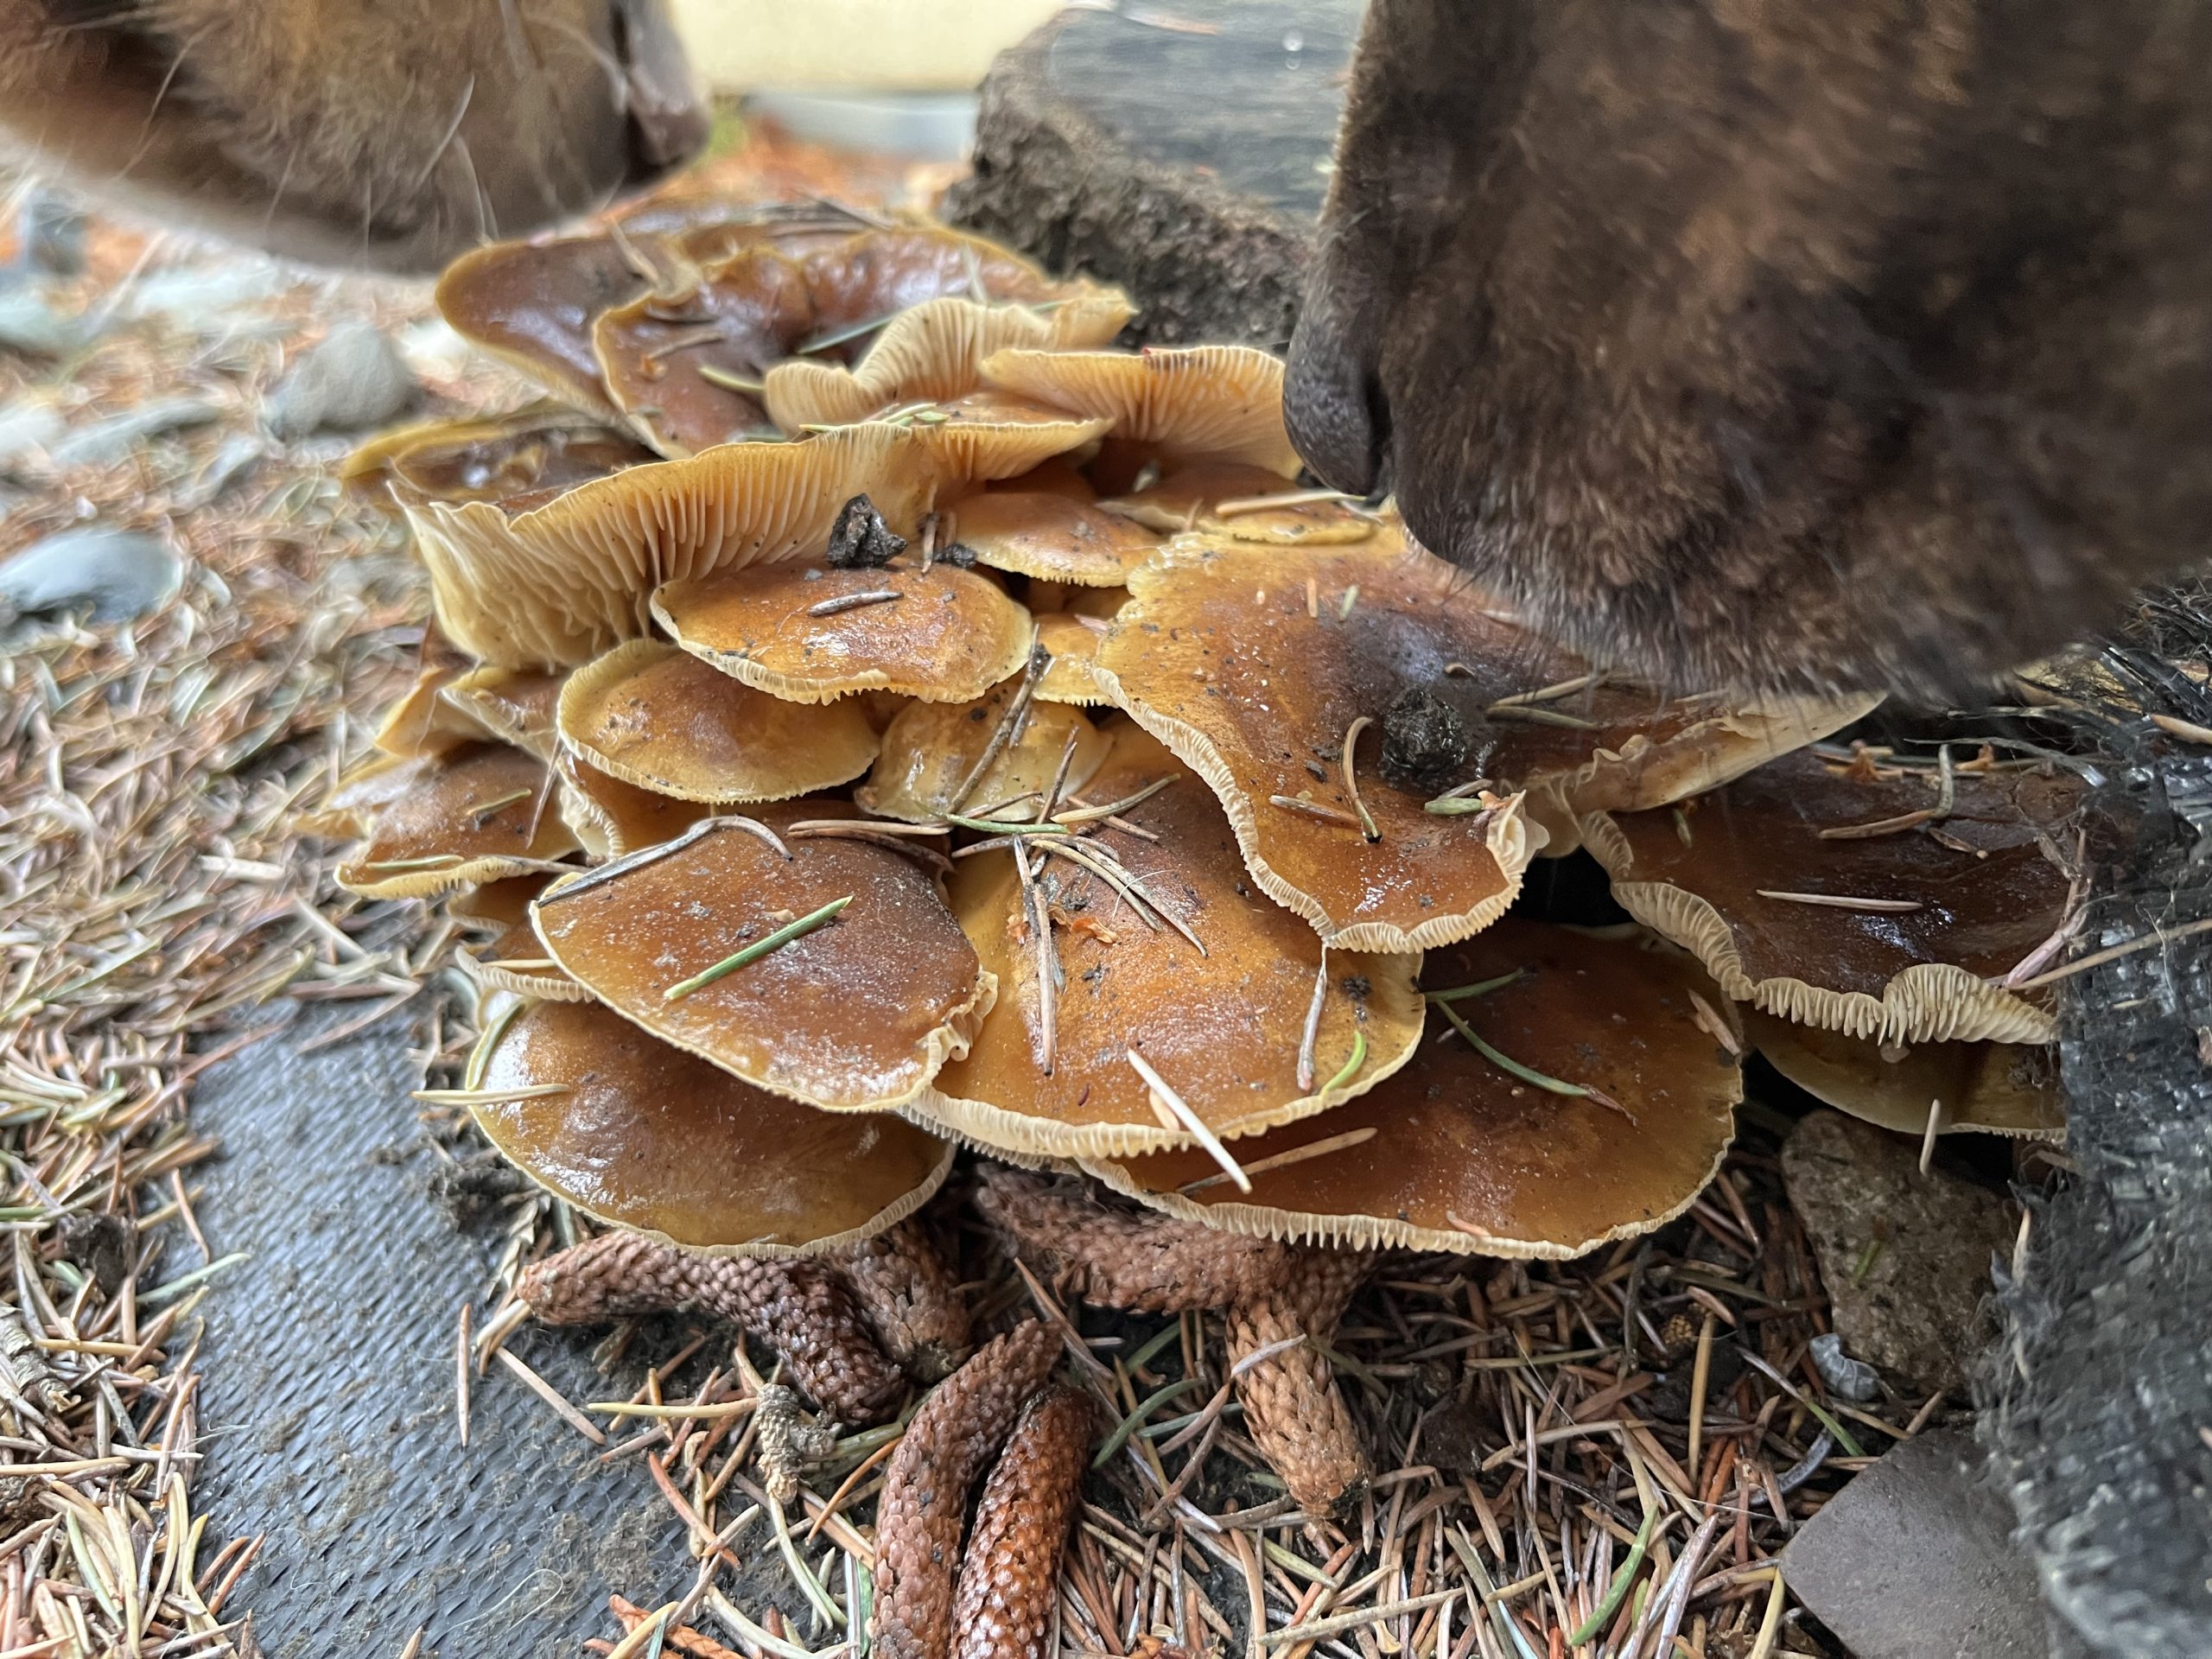
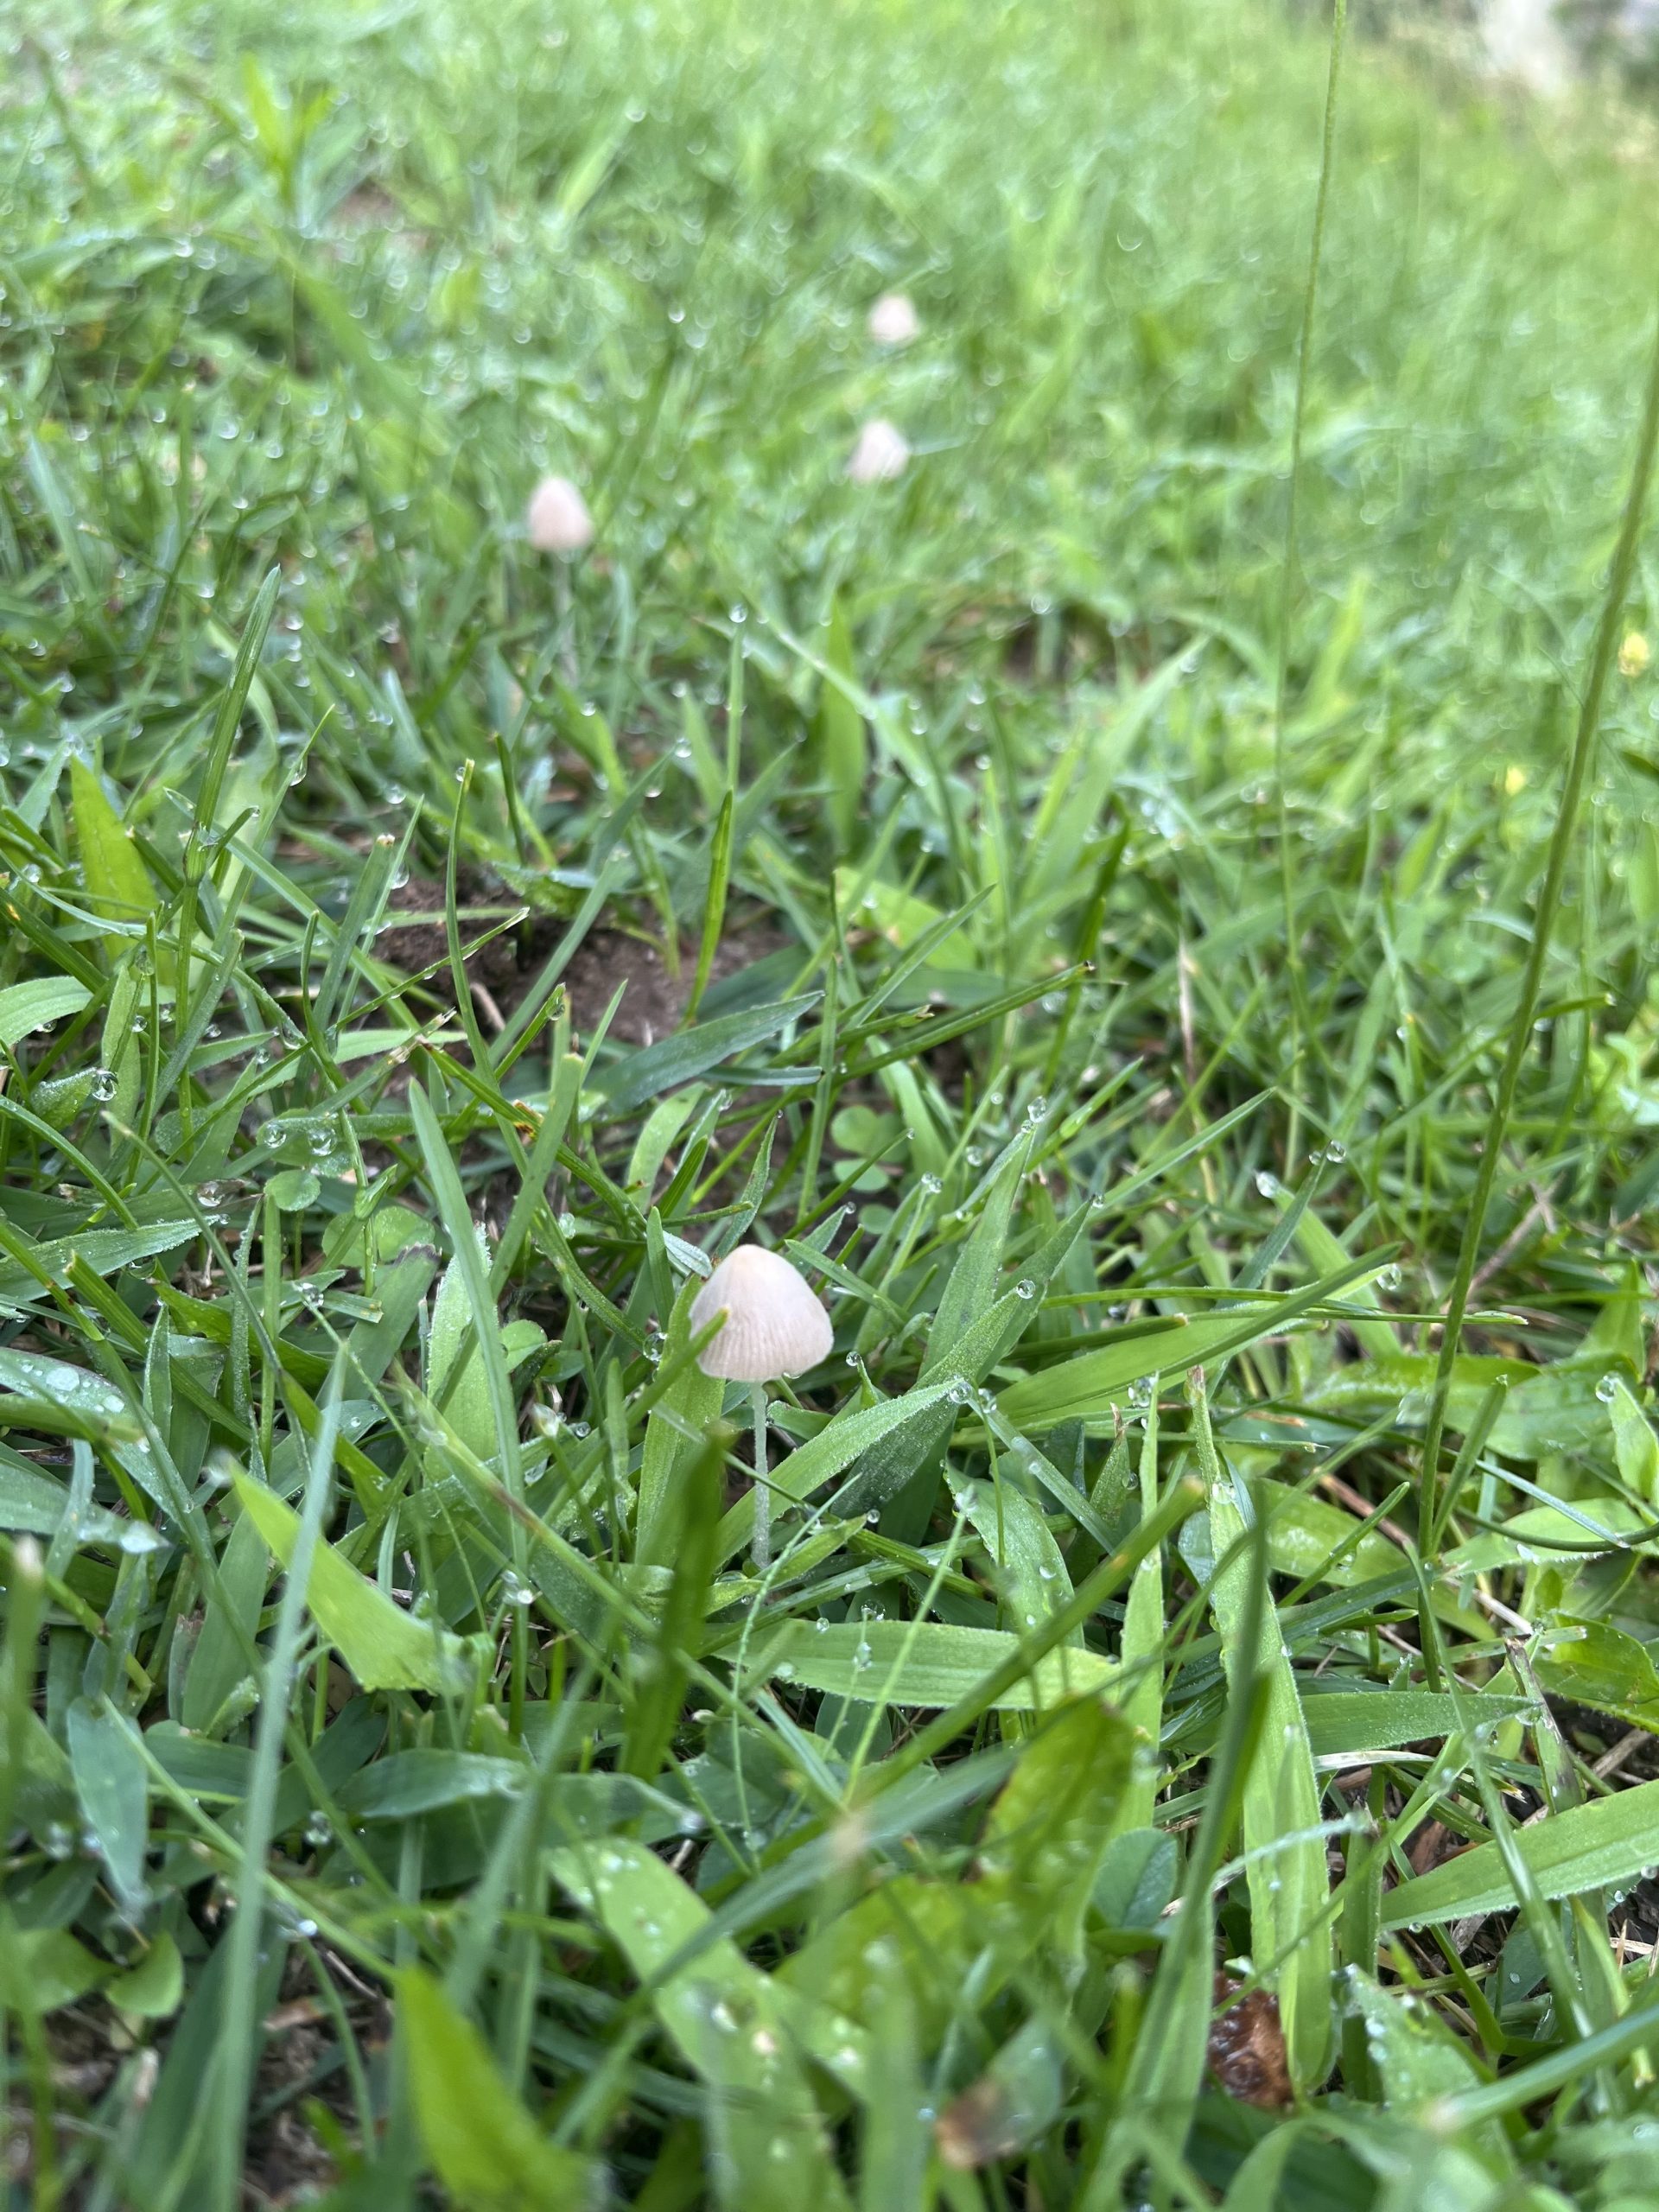
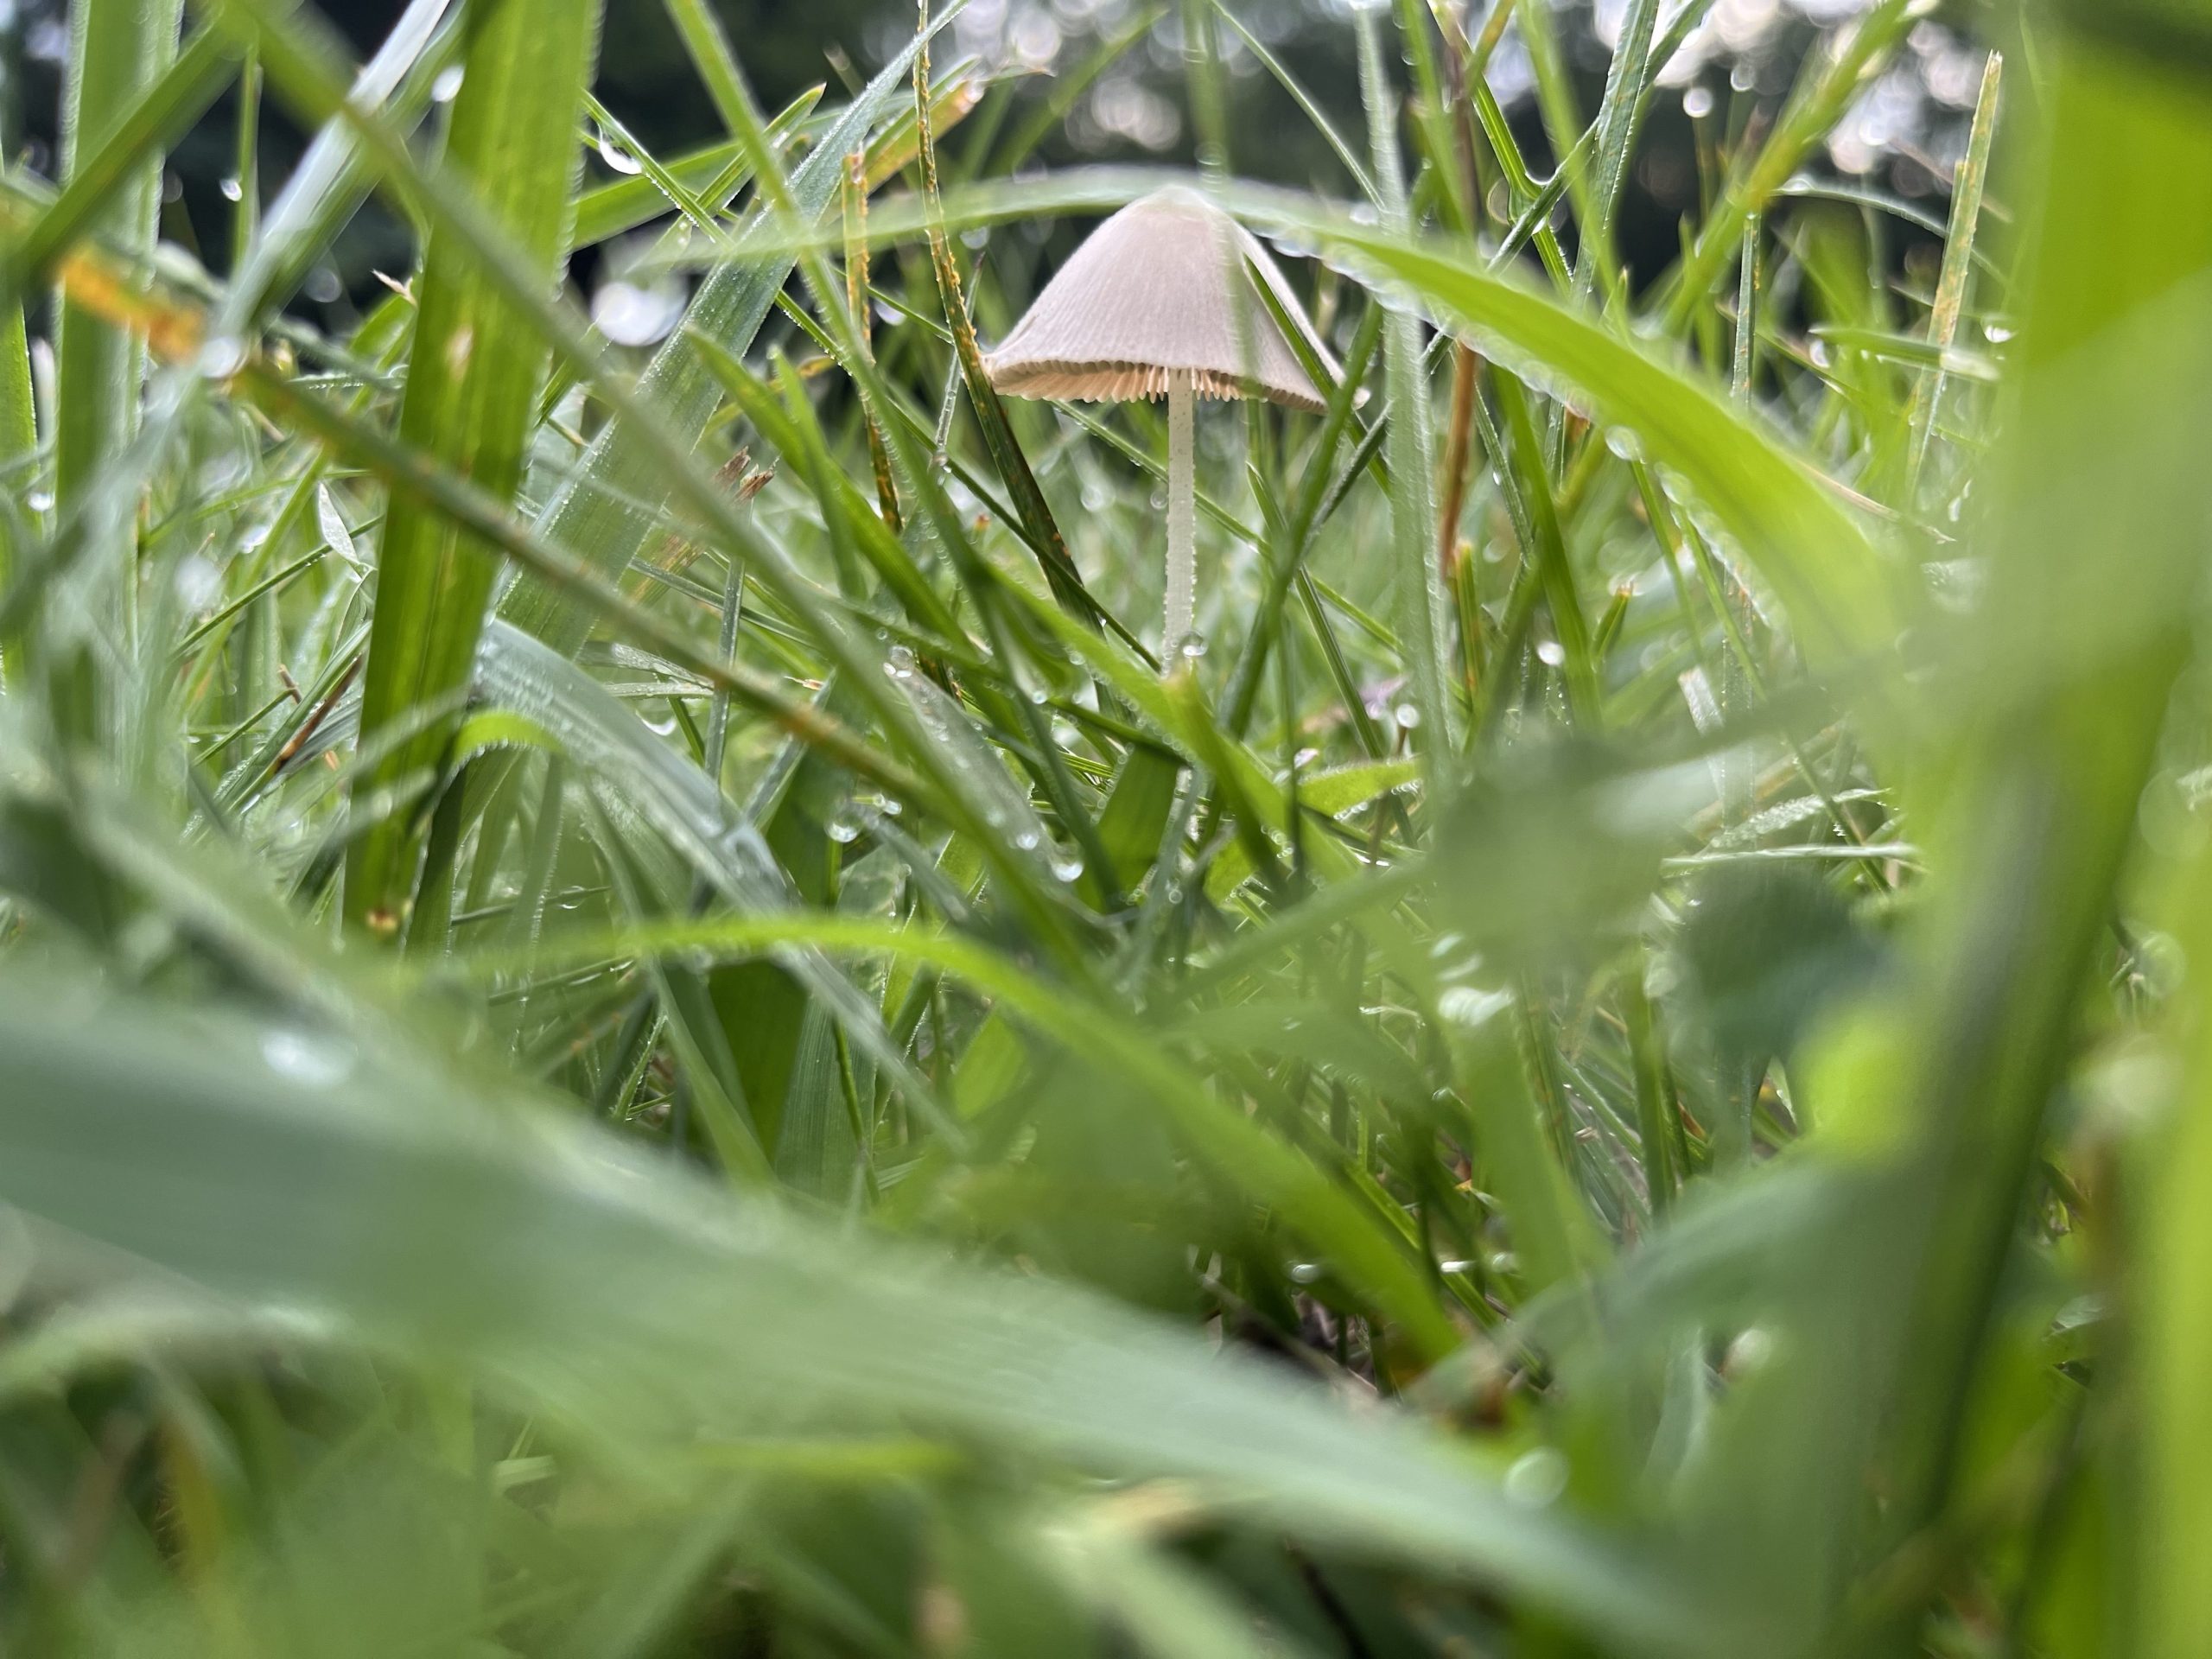
It rained for a few days and these appeared apparently out of nowhere. Wild that they can grow so late in the year.
Also featured, puppy snoots.
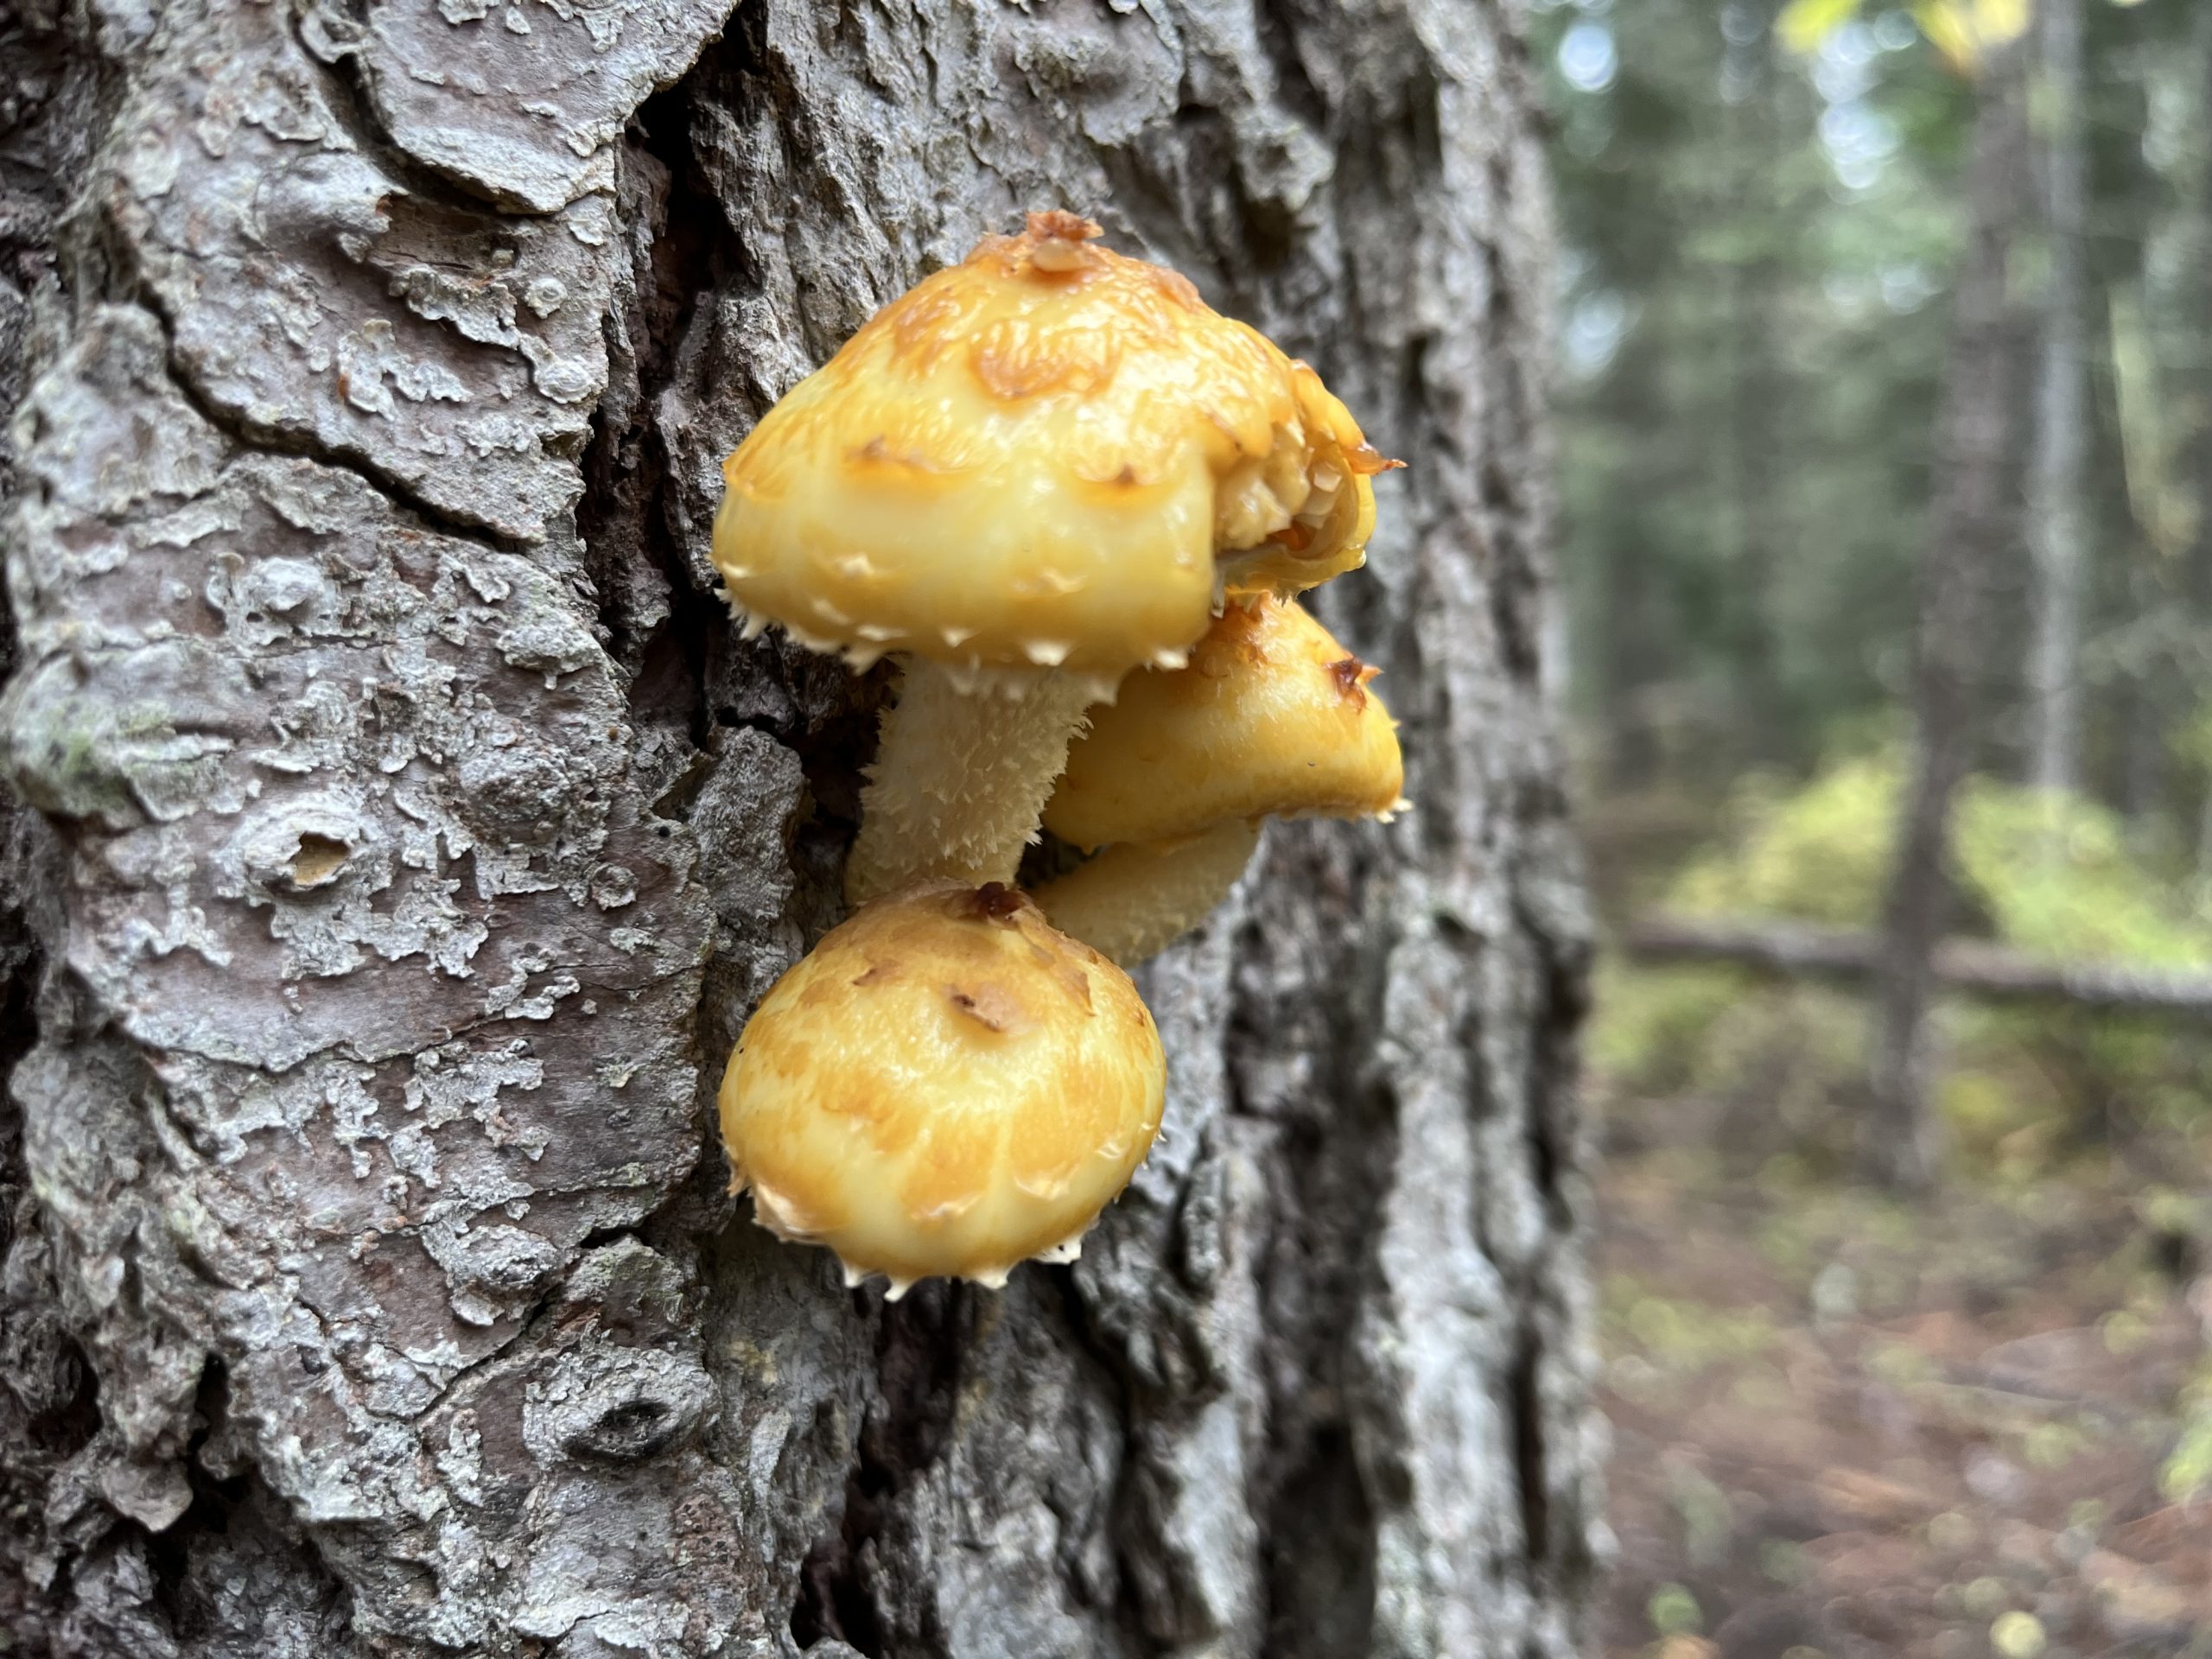
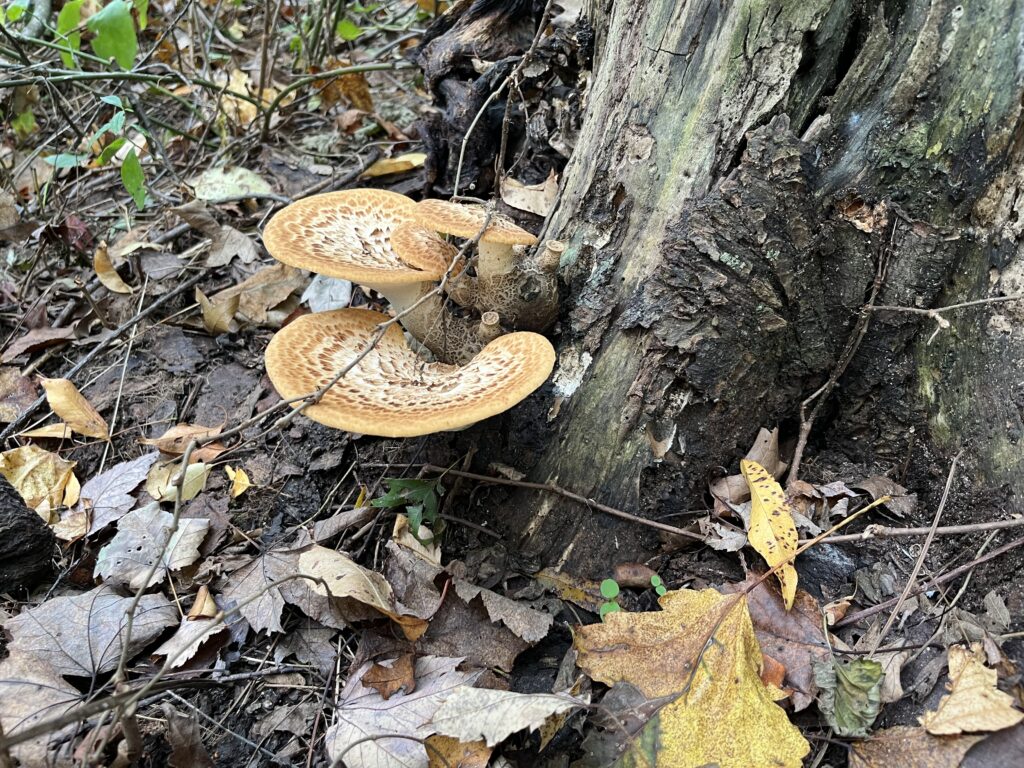
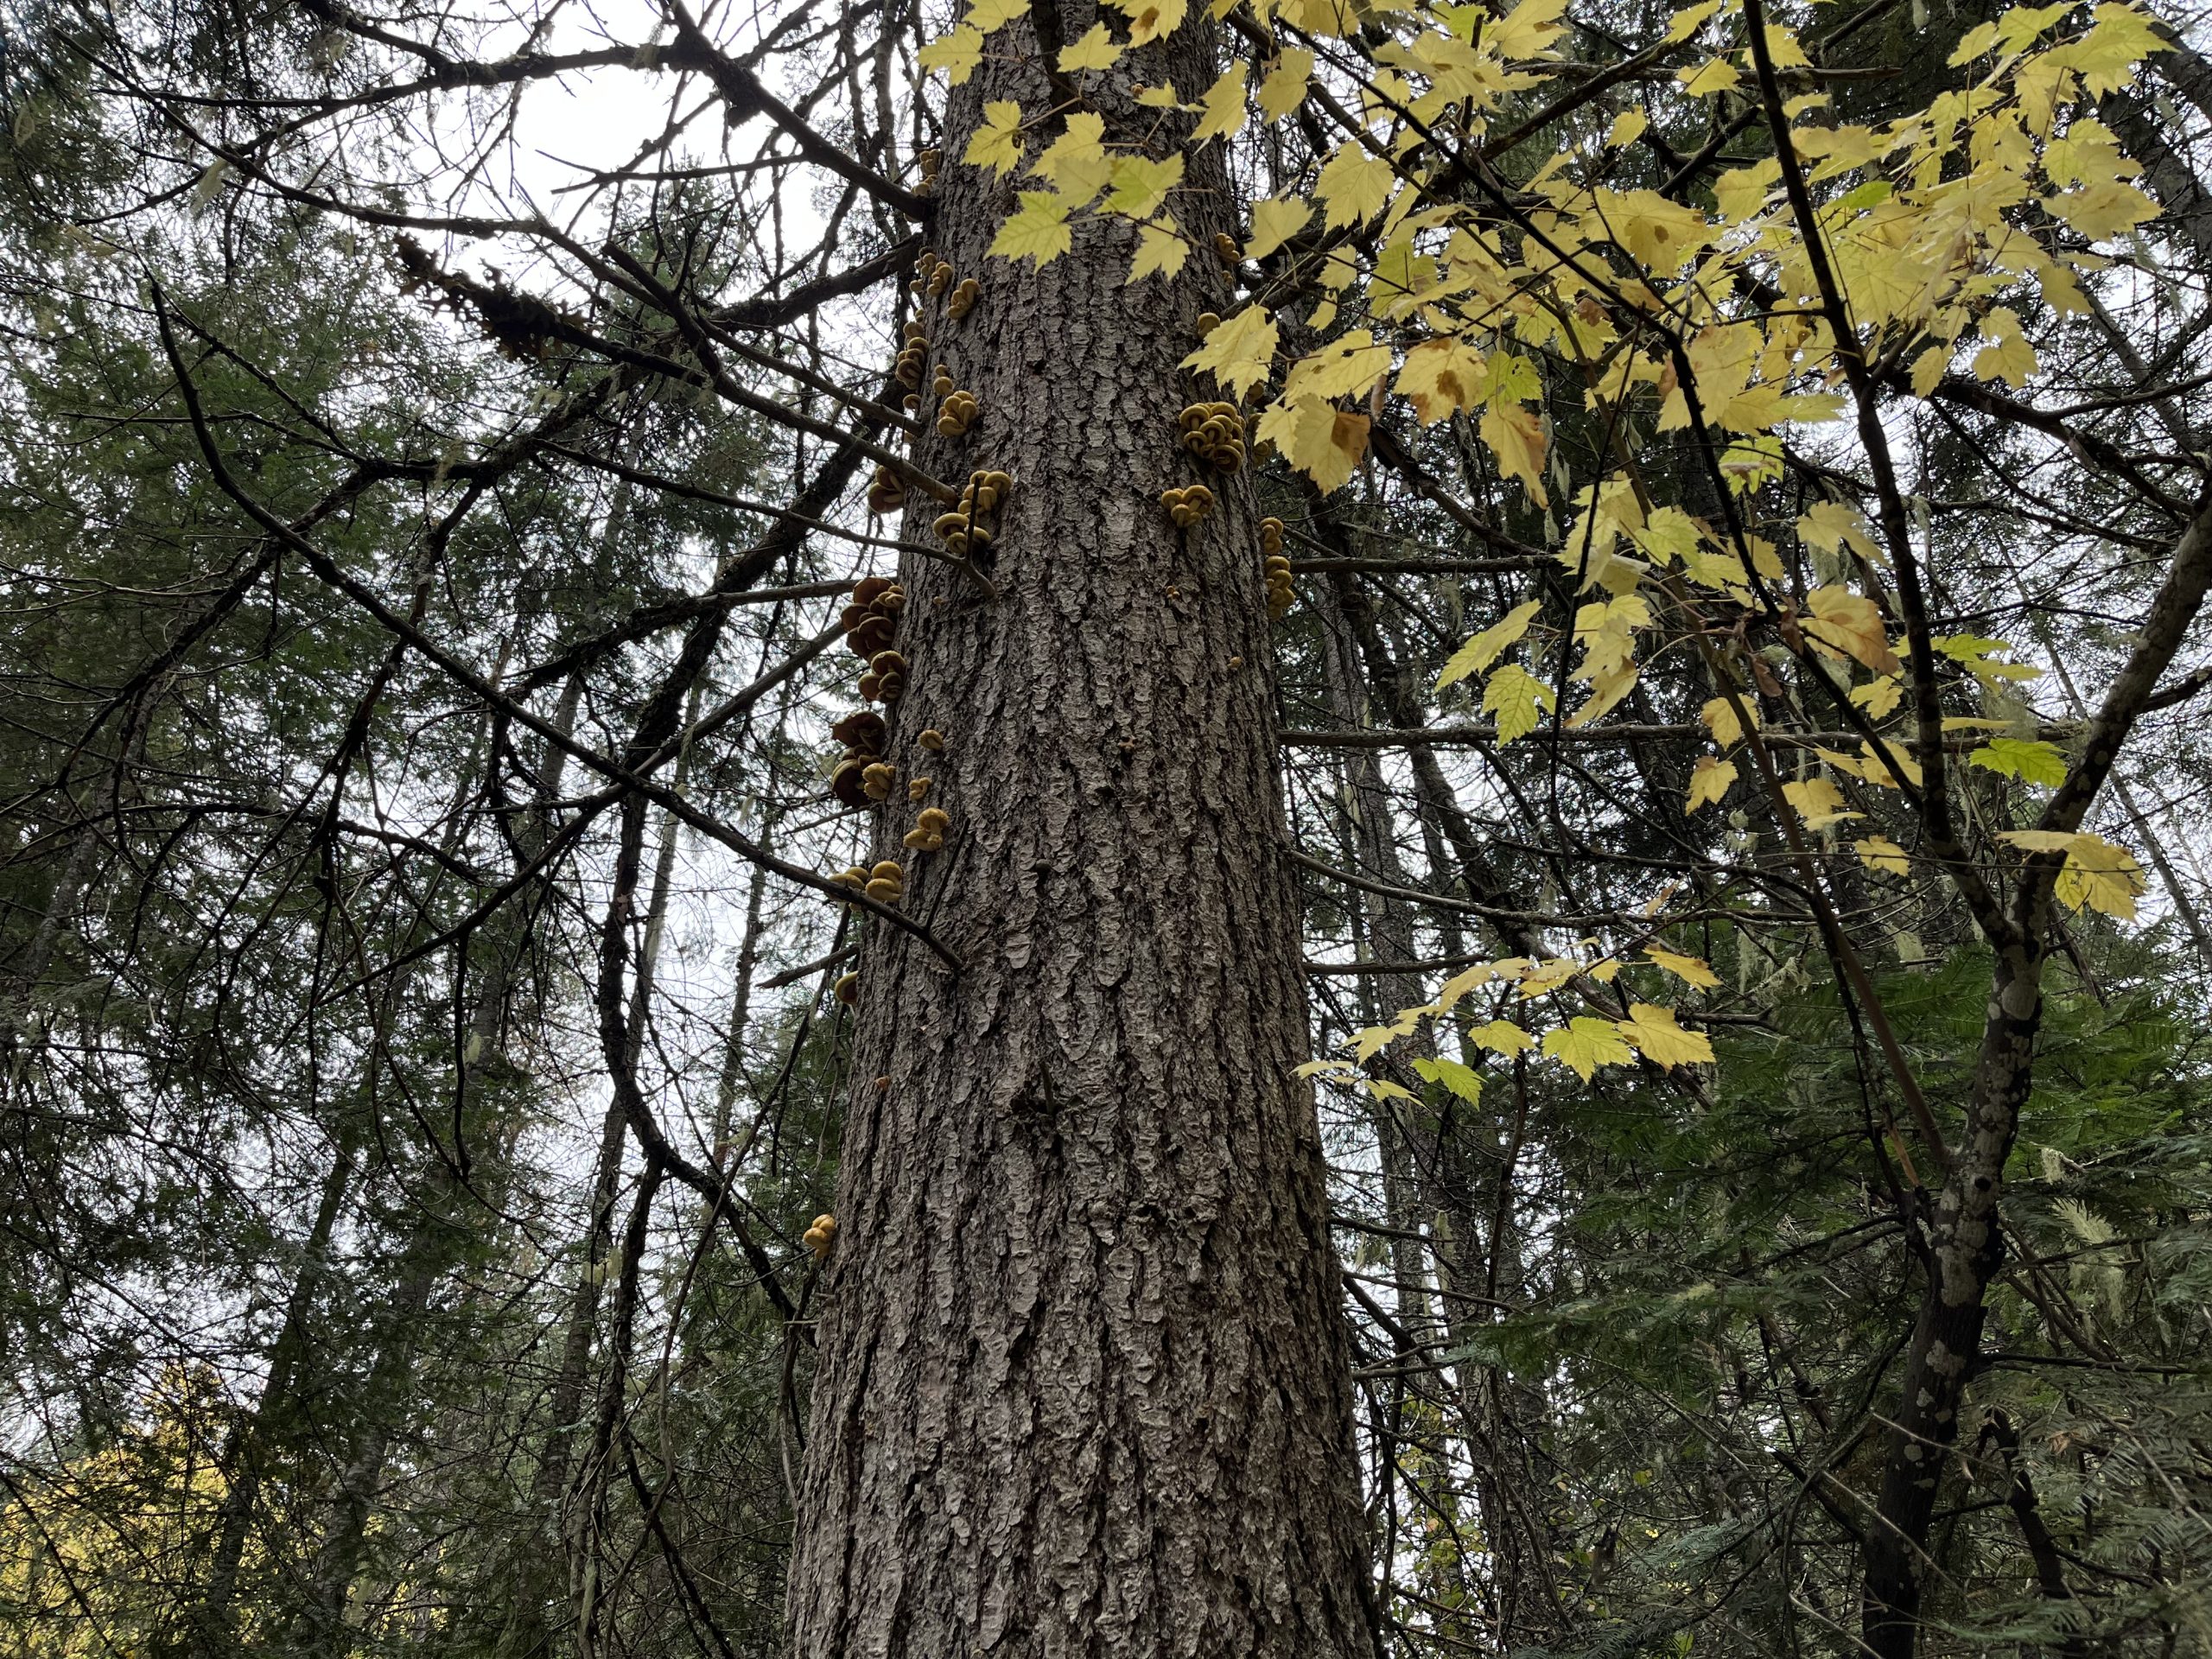
While out with my family gathering firewood, I stumbled upon some real nifty mushrooms.
There must have been a hundred or more all growing out of one dead tree.
Im starting off a new category on my blog, “Datacenter Diary.” It basically just chronicles my adventures in the “Server Canyon” (or other) realm.
In this post I recount dealing with our first major hardware failure. Hardware failure happens all the time, but this was a single-point-of-failure device. Our main backbone switch.
I’ll admit I might have been ignoring an ever-louder growing rattle for a few weeks, but when the warning light lit up it was time for action.
I picked up a new (previously enjoyed and lovingly revitalized) switch from Unix Surplus. I have no special relationship with them, just a happy customer. I ended up with a fancy Dell/Force-10 S60-44T-AC-R. I picked this device because the Server Canyon network sees large bursts of traffic and this device has a pretty large packet buffer. Plus, it has two 10-gigabit ports that I will definitely take advantage of later.

The first thing to do was copy the config from the old PowerConnect to the new Force10 switch. This turned out to be a little more difficult than expected since they were different product lines, but a switch is a switch and I got it sorted.
Luckily, nearly every piece of server infrastructure has redundant uplinks. This means that I just needed to trunk the switches and start moving servers over. The management and client networks were only disrupted as long as it took to move the plugs over, but the storage network utilizes redundant links so no real downtime occured.
Here you can see an in-progress picture of the migration:

The process ended without much fuss, I only managed to miss tagging one VLAN.
Next, a post-mortem on the old switch. That is a problem for another blog post though!
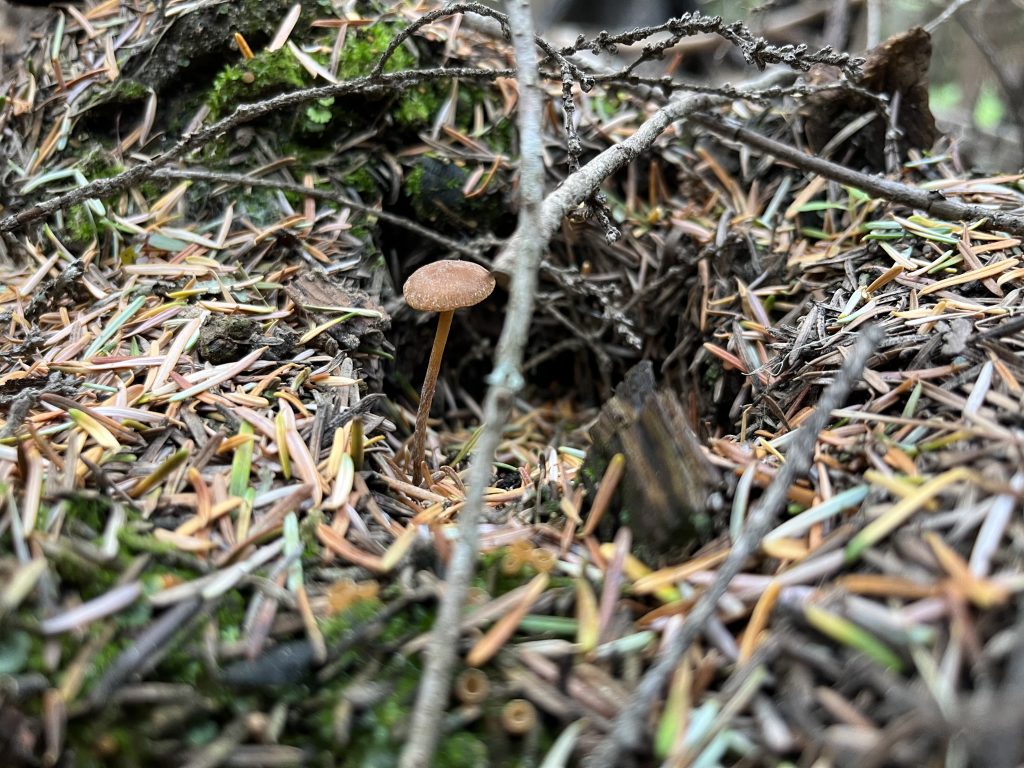
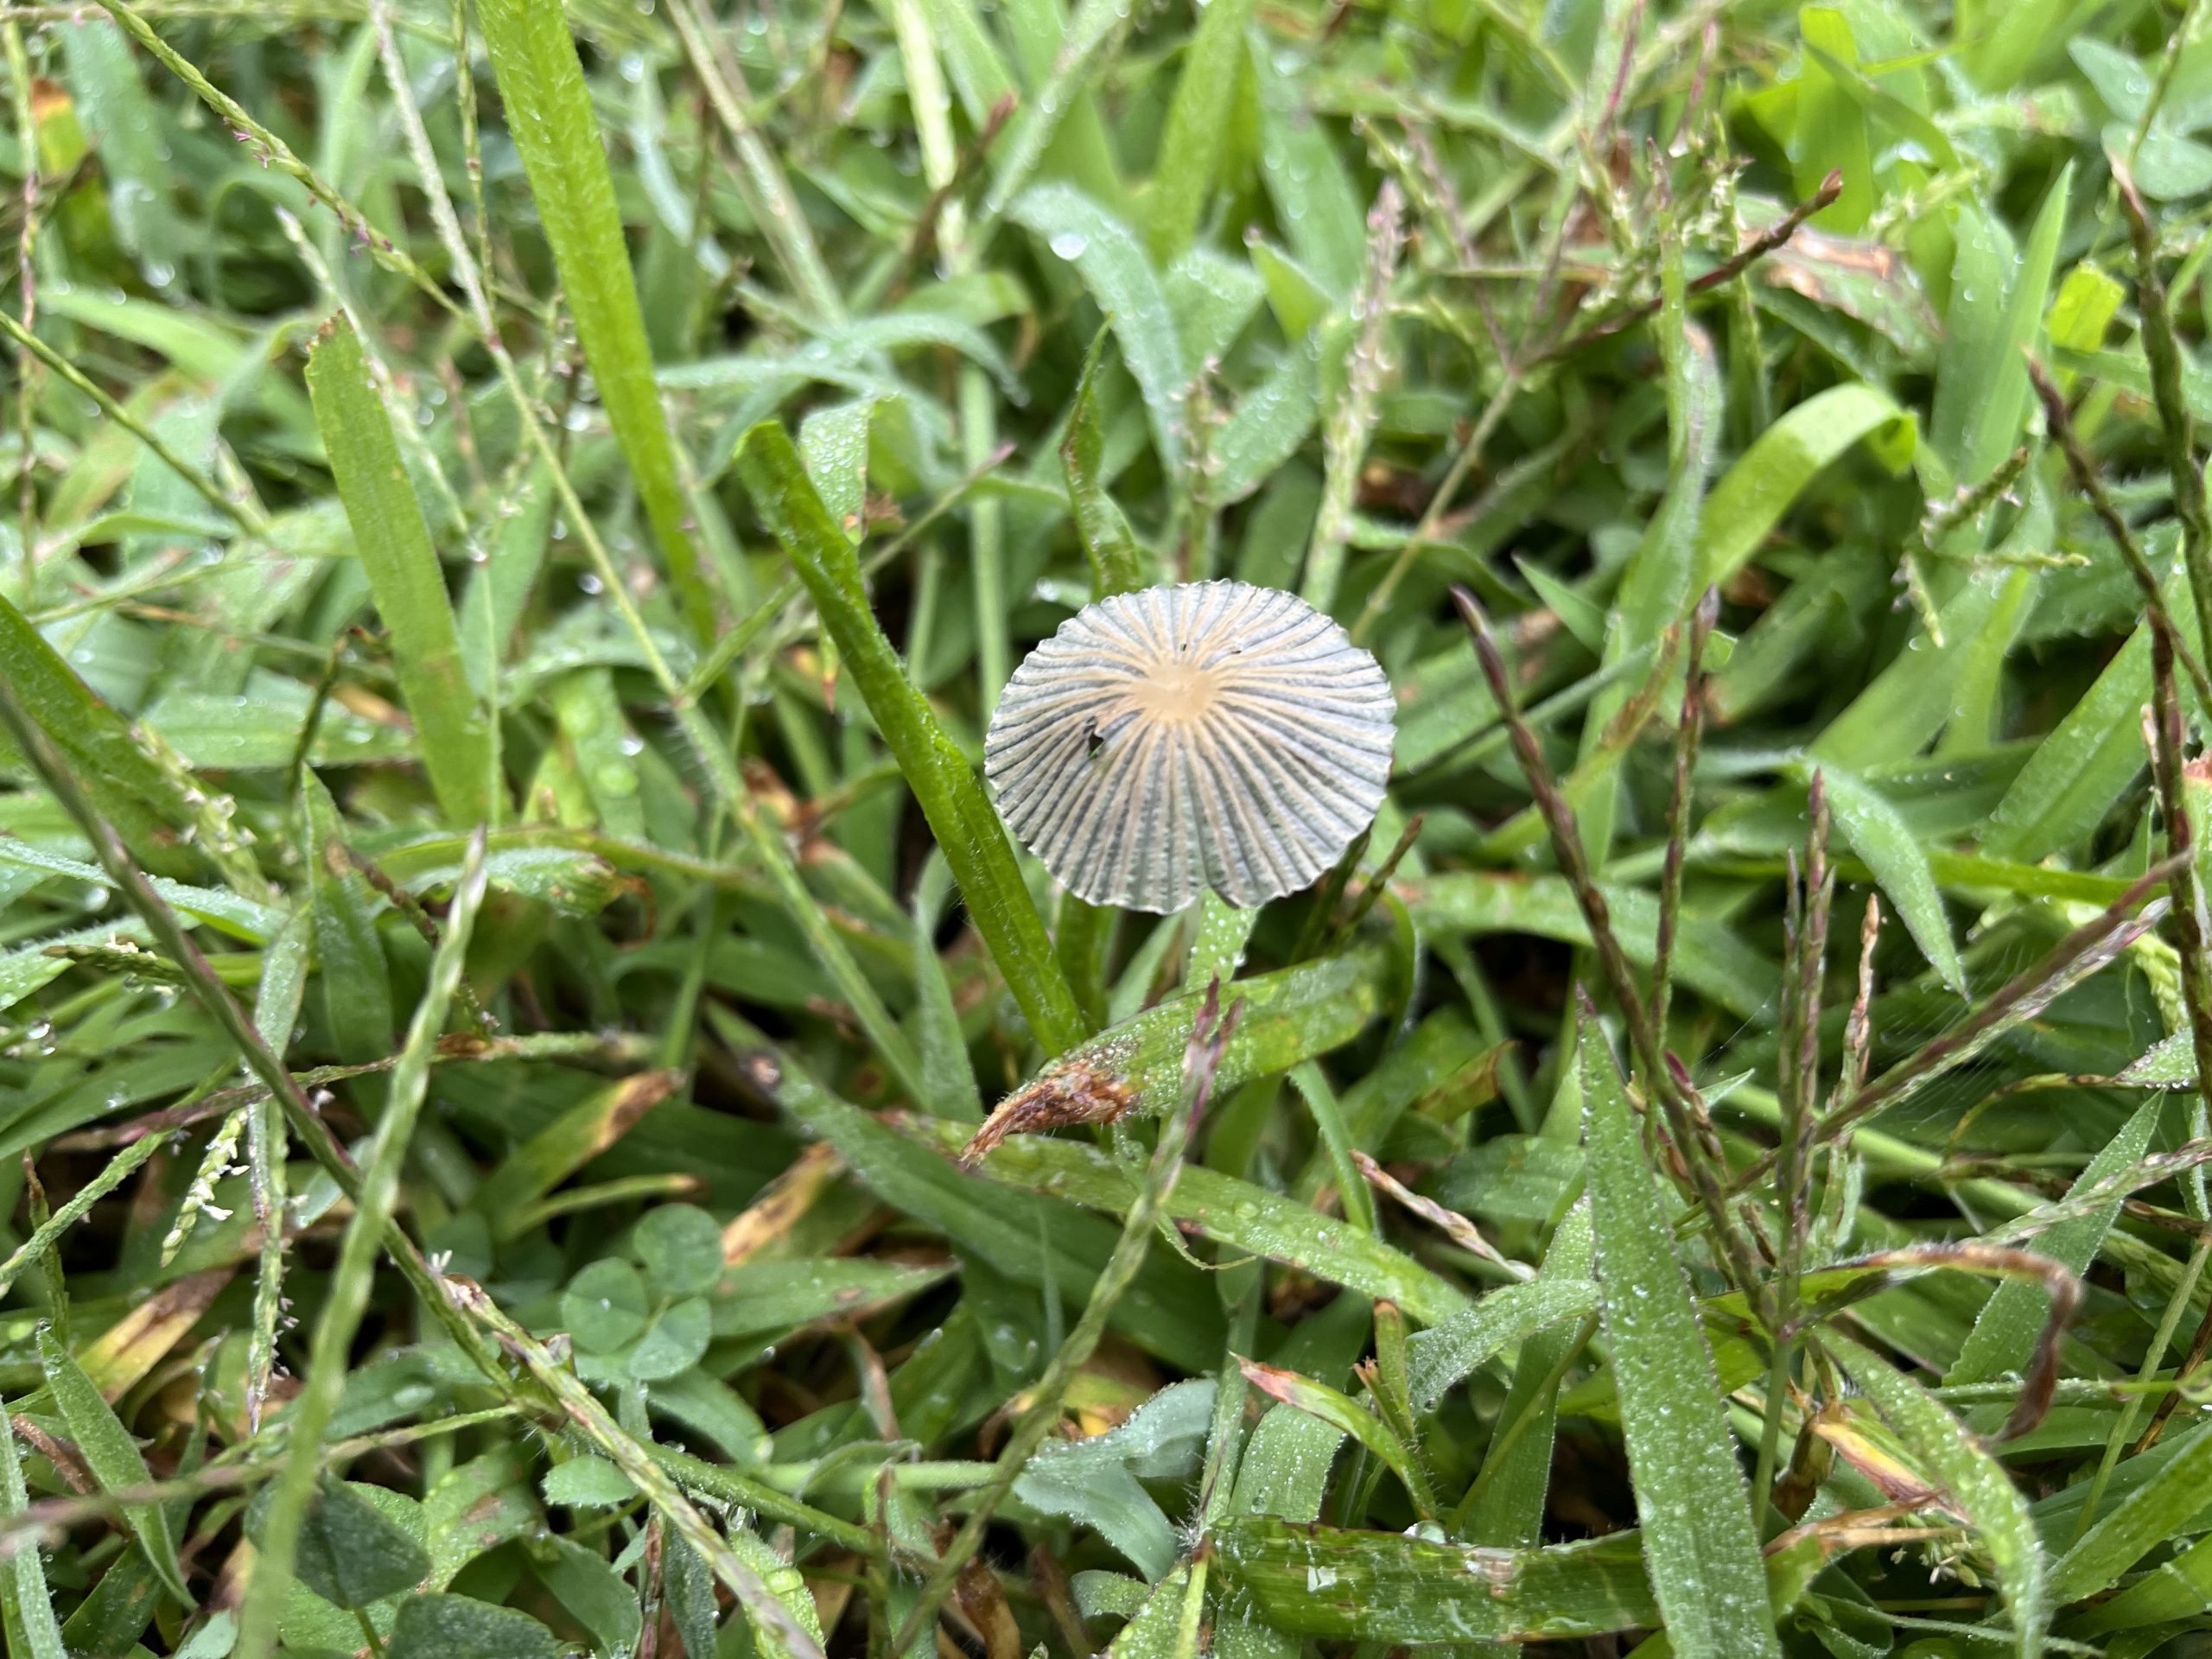
Tiny mushroom.